 Crochet Henouda
Simple Granny Square Cardigan: A Cozy Neutral Classic
Chocolate brown, cream and dusty rose squares with a dark frame around every one. How to choose the colors, join the squares and add the ribbing.
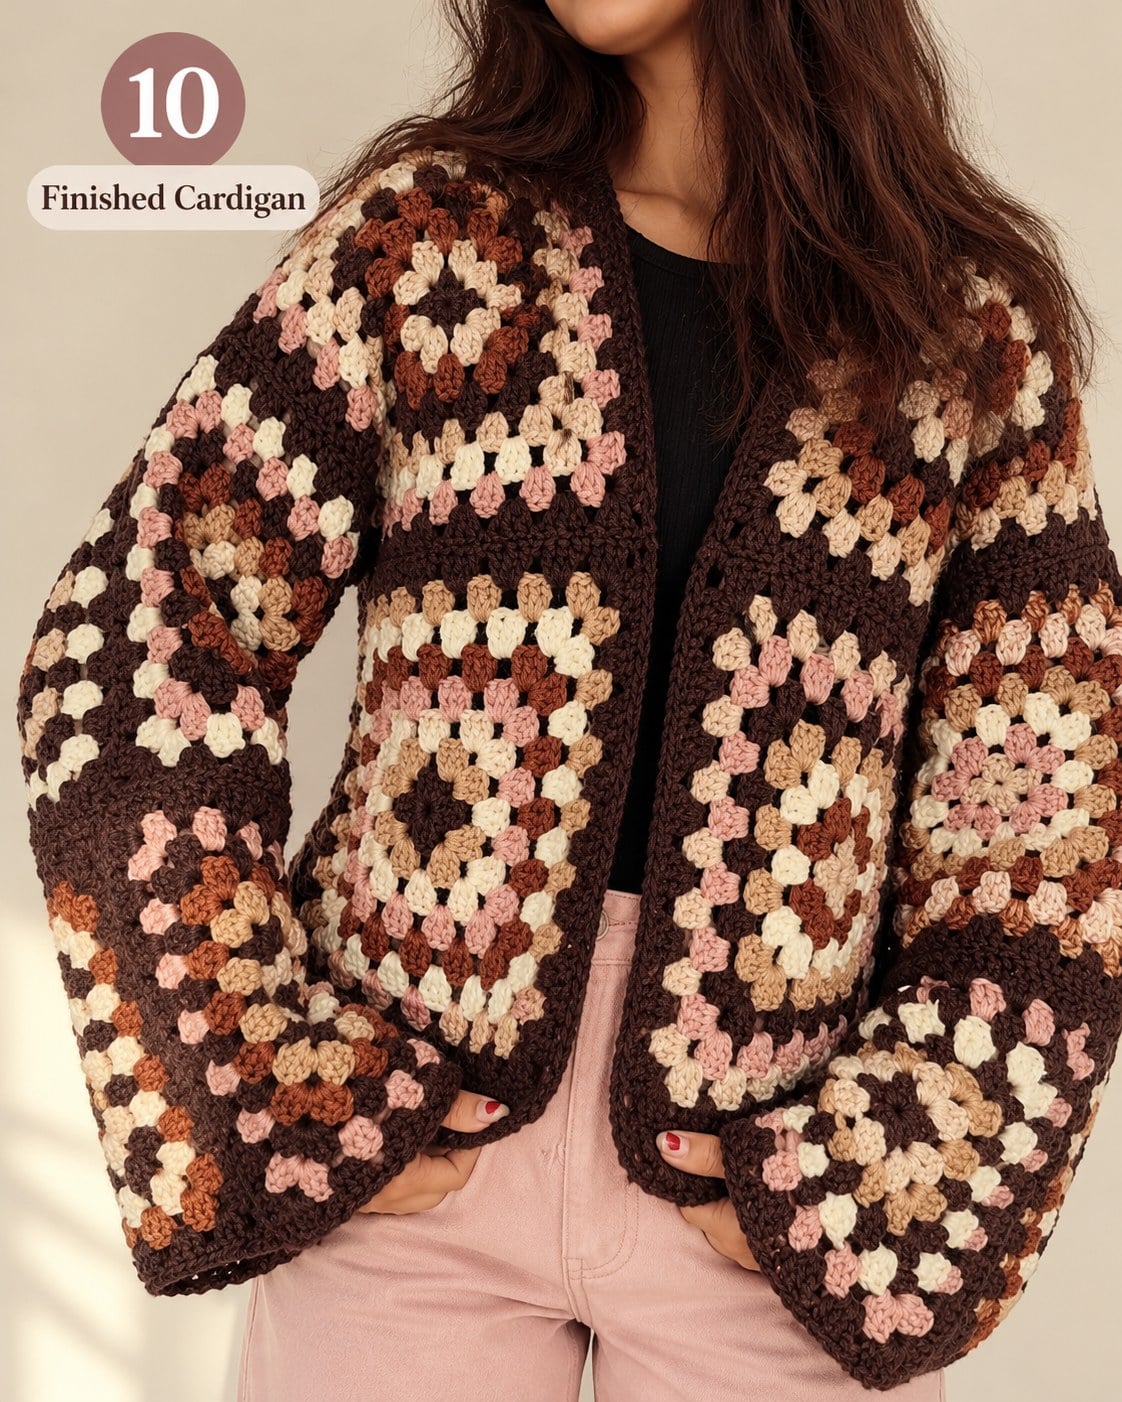
The granny square cardigan never really goes away. It comes back every few years, and the reason is simple: it is the friendliest garment in crochet. You are never working on a sweater — you are working on a small square you can finish in front of the television, and one day there are enough of them to sew together.
This version keeps the squares in a quiet palette — chocolate brown, cream, dusty rose, caramel and rust — with a dark brown frame around every square and dark brown ribbing at the cuffs and hem. The dark frame is what makes it work. It separates the colors so nothing clashes, and it ties the whole cardigan together even when the squares are all different.
Why This One Is Easier Than It Looks
There is no shaping inside the squares, no increases to track across a row, and no gauge to match against a pattern written by somebody else. If a square comes out slightly small, it only affects that square.
It is also the most portable garment project there is. A full cardigan is awkward to carry around once it grows; a single granny square fits in a pocket.
Choosing Your Colors
The palette is doing most of the work in a cardigan like this, so it is worth a few minutes before you start.
Pick one dark anchor — here it is chocolate brown — and use it for the last round of every square, plus the ribbing. Then choose three or four softer colors for the inner rounds. Cream, dusty rose, caramel and rust sit close together on the color wheel, which is why they look calm together rather than busy.
Vary the order of the soft colors from square to square, but never change the anchor. That one repeated round is the difference between "scrappy" and "designed".
Making the Squares
A classic granny square grows in rounds of three-double-crochet clusters, with a chain space at each of the four corners. Each round adds one cluster per side, so the square keeps its shape no matter how big you make it.
Work the same number of rounds on every square. Then block them all before you join anything — wet them, pin them square, let them dry flat. It is the least interesting evening of the project and it is the one that decides whether the finished cardigan hangs straight.
How to Join Granny Squares Together
This is the question that stops most people, and there is no single right answer. The three methods worth knowing:
- Slip stitch join. Hold two squares with wrong sides together and slip stitch through both. Fast, and it leaves a raised ridge on the right side that frames each square. This is what gives the cardigan above its grid.
- Single crochet join. The same idea with sc instead of sl st. A thicker, more visible seam — good when you want the frame to really show.
- Whip stitch with a yarn needle. Sewn rather than crocheted. The flattest, most invisible seam, and the slowest.
Whichever you choose, use the same one everywhere and join in the same direction every time. A cardigan with mixed seams reads as a mistake even when nobody can say why.
Laying Out the Body
Lay the squares out on the floor and build three flat panels first: a back and two fronts. Step back and look at the color balance before a single stitch goes in. Two squares with the same bright center sitting side by side will bother you forever once it is sewn.
The shoulders and neckline are shaped by simply leaving squares out at the top corners, and the armholes are the gaps you leave down the sides. No decreasing, no maths.
Adding Ribbed Cuffs and Hem
The ribbing is what turns a rectangle of squares into a garment. It is worked flat as a long strip — single crochet through the back loops only, row after row — and then sewn onto the edge.
Three things it does for you: it pulls the cuffs in so the sleeves stop sliding over your hands, it weighs the front edge down so it hangs straight instead of curling, and it makes the whole thing look finished.
Work the strip slightly shorter than the edge you are attaching it to and stretch it gently as you sew. If you make it exactly the same length, the ribbing will not pull in and you lose the point of it.
A Few Things Worth Knowing
Weave ends in as you go. Four or five color changes per square across dozens of squares is hundreds of ends. Nobody finishes a cardigan that has saved them all for the last day.
Make one square and measure it. The whole cardigan is counted in squares, so that one measurement decides the size. Bigger square, bigger cardigan.
Buy the anchor color generously. It appears in every square and in all of the ribbing, so you will use far more of it than the others — and running out mid-project means hunting a matching dye lot.
Want the Full Written Pattern?
If you would like a complete pattern with every round written out and exact stitch counts, my Sunflower Granny Square Cardigan uses the same square-and-panel construction and is available as a printable PDF.
Prefer something with fewer seams? The hexagon cardigan is made from just two large shapes instead of dozens of squares.
Frequently asked questions
How many granny squares do I need for a cardigan?
It depends on the size of your square. Make one first and measure it, then work out how many fit across your back, down each front and around each sleeve. Most adult cardigans land somewhere between 30 and 60 squares.
What is the best way to join granny squares for a cardigan?
Slip stitch join is the most popular: fast, and it leaves a neat raised ridge that frames each square. Single crochet gives a thicker seam, and whip stitch with a yarn needle gives the flattest one. Pick one and use it everywhere.
How do you crochet ribbing on a cardigan?
Work a long flat strip of single crochet through the back loops only, row after row, until it is slightly shorter than the edge you are attaching it to. Then sew it on, stretching it gently as you go so it pulls the edge in.
Why does my granny square cardigan curl at the front?
Almost always a missing or too-light front band. Granny stitch has no weight at the edge, so it rolls. A few rows of back-loop single crochet ribbing down each front edge fixes it.
Do I need to block granny squares before joining them?
Yes, and it matters more than people expect. Wet the squares, pin them square and let them dry flat. Unblocked squares are slightly different sizes and shapes, and every one of those differences shows up in the finished seams.
More wearables you’ll love
 Wearables
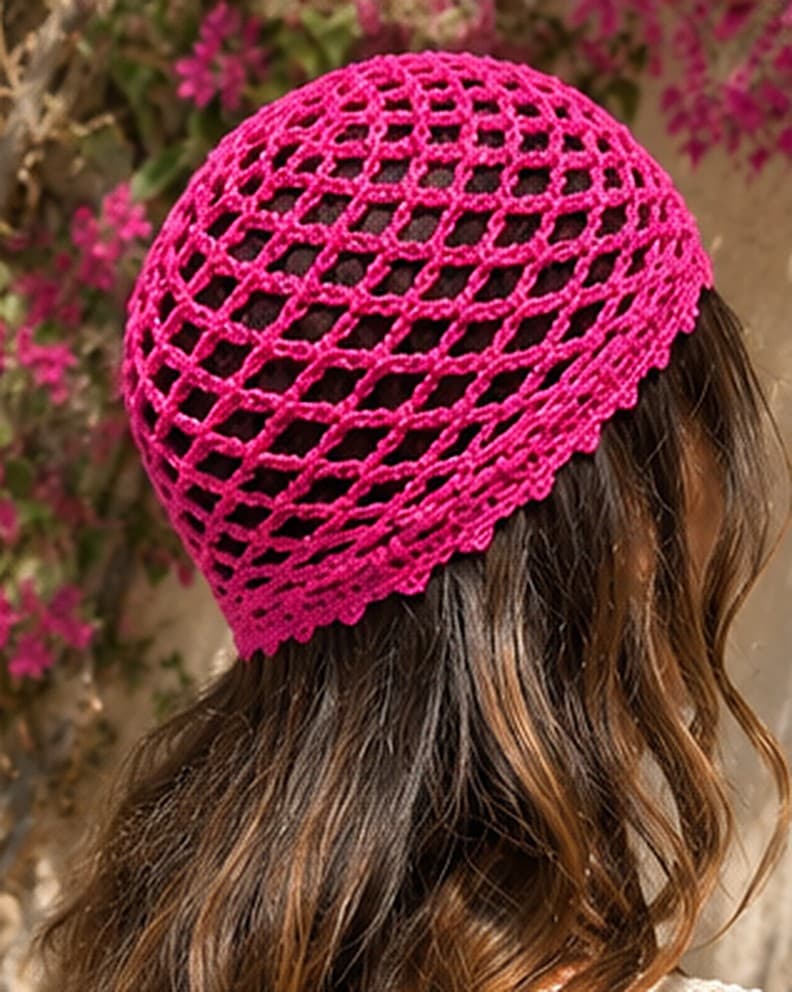
Crochet Mesh Hats: Openwork Styles for Summer
Light, fast and far more delicate than they look. How openwork crochet hats are built, which thread to use, and a full crochet hat size chart.
 Wearables
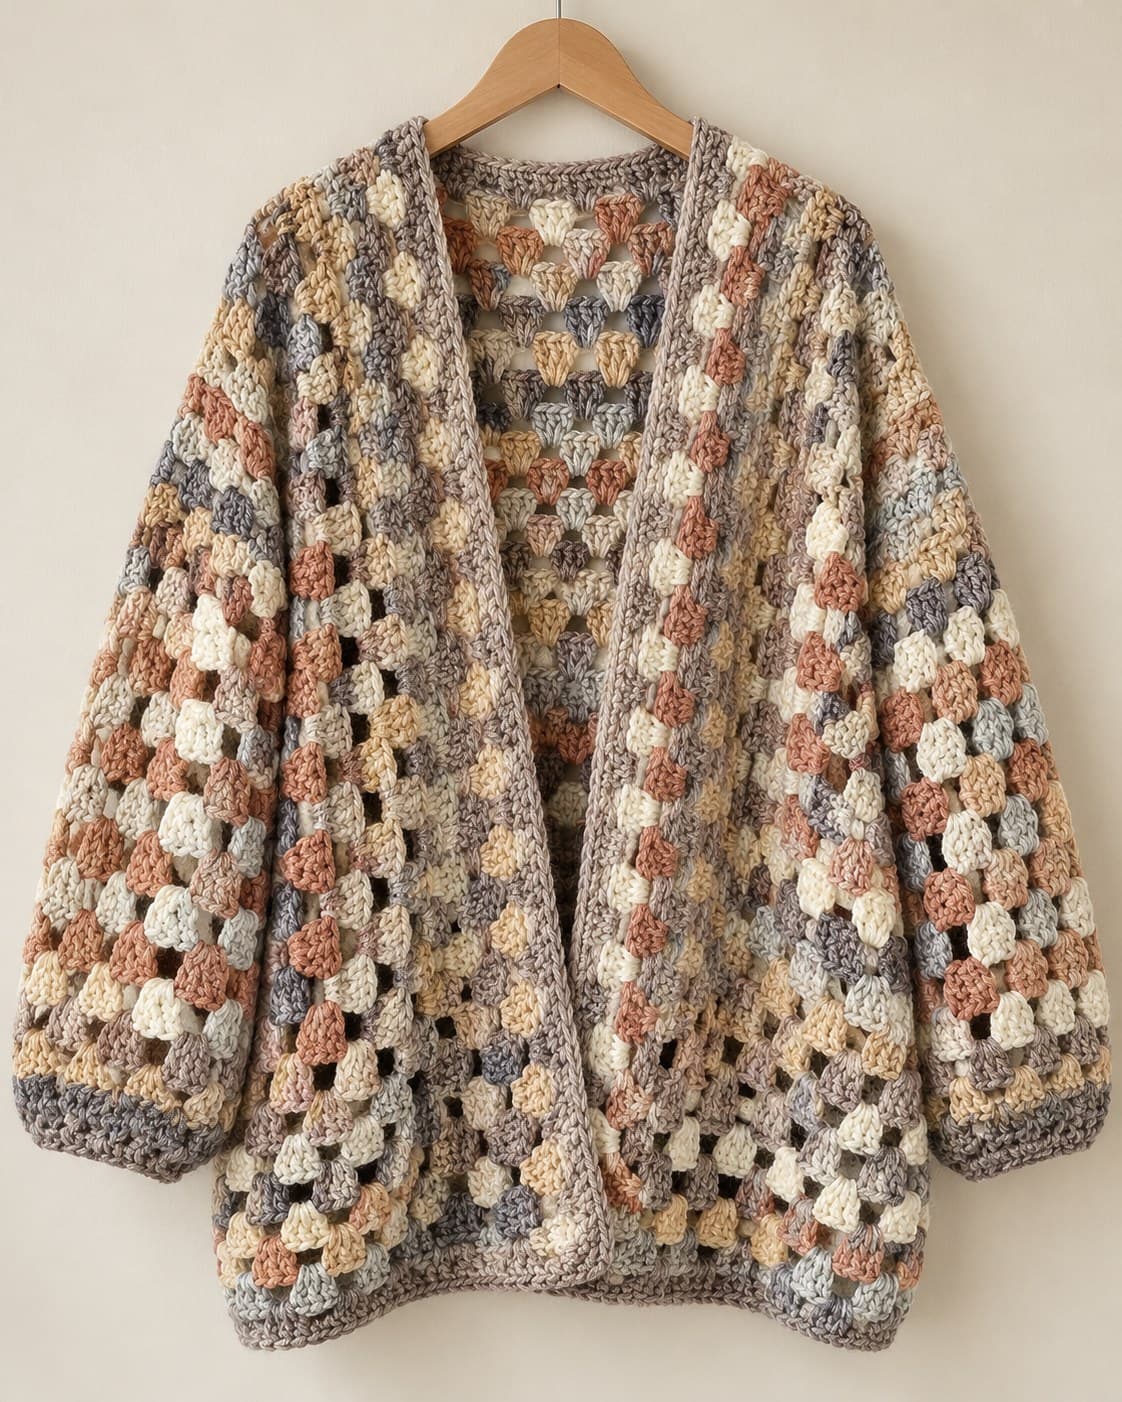
Hexagon Granny Square Cardigan: 3 Color Ideas for Fall
The hexagon cardigan is the easiest sweater shape in crochet: two hexagons, two seams, no shaping. Here are three color directions to try this fall.