 Crochet Henouda
Sunflower Granny Square Cardigan: Free Crochet Pattern
A free step-by-step crochet pattern for a cozy sunflower granny square cardigan: 54 squares, five flat panels and ribbed edges, with photos for every step.
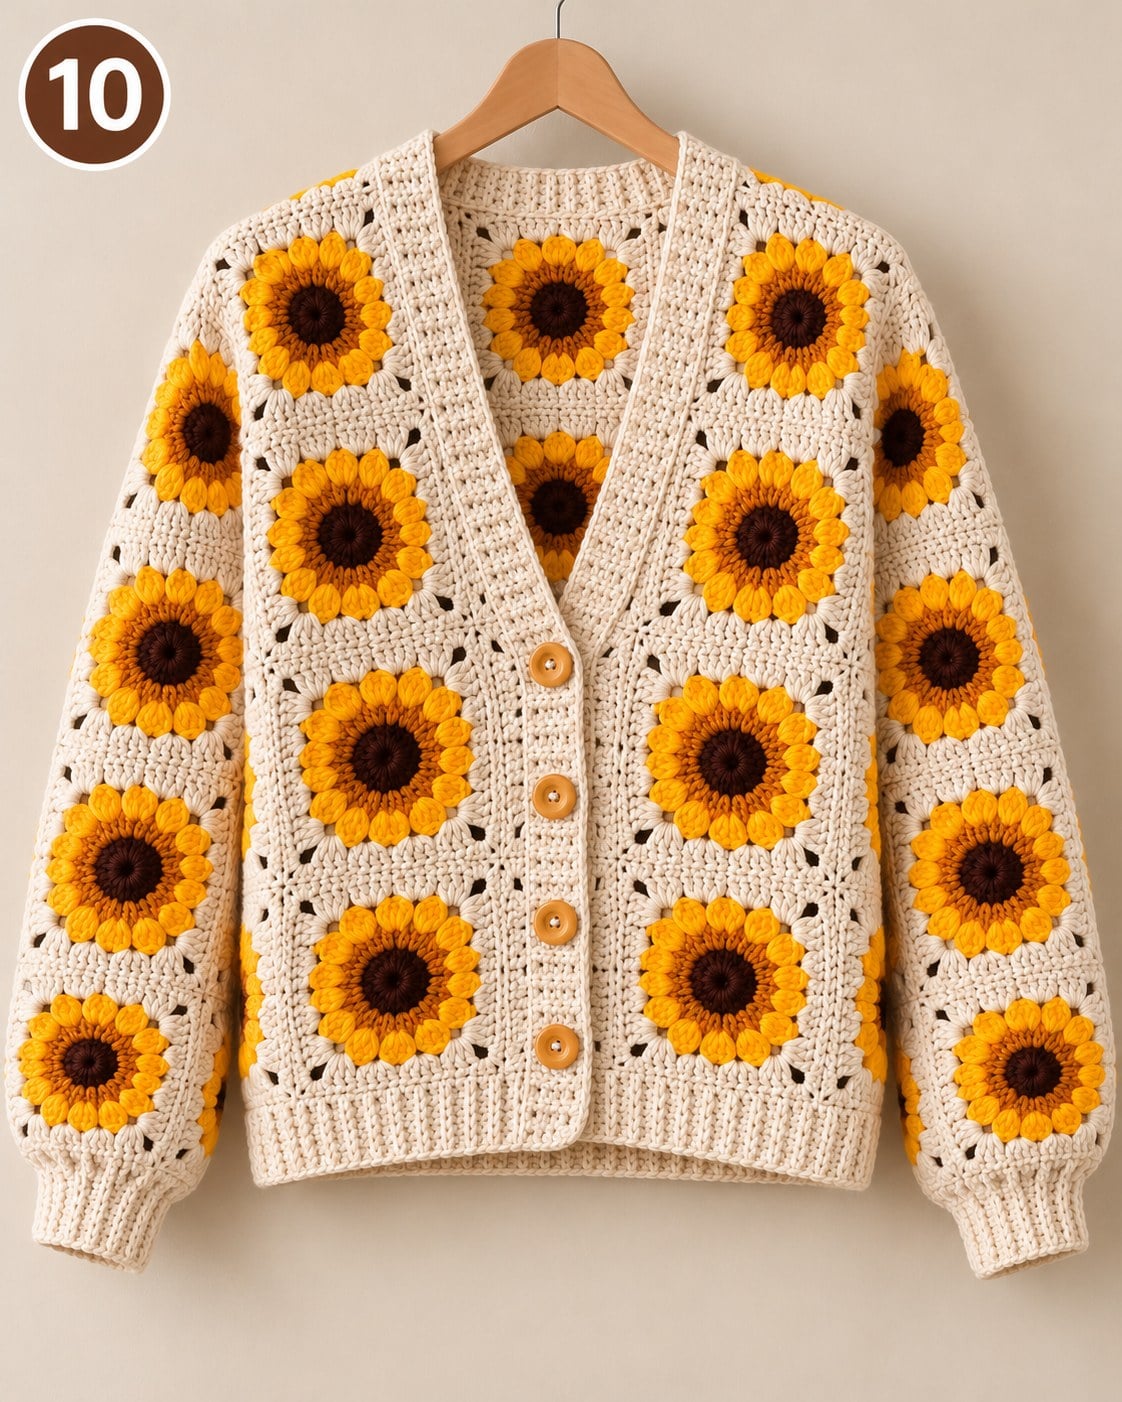
This sunflower cardigan looks like a big project, but it is built from one simple motif: a sunflower granny square, made 54 times and joined into five flat panels. There is no shaping, no armhole decreases and no sleeve caps — if you can make one square, you can make the whole cardigan.
The full pattern is free below, step by step with photos, in US crochet terms. Prefer to crochet from paper? The printable, ad-free PDF is available in my Etsy shop.
What You Need
- Aran / worsted weight (4) cotton yarn in 4 colors: soil brown (centers), mustard yellow (inner petals), bright yellow (outer petals) and cream (border, joining and ribbing)
- 5 mm (US H-8) crochet hook — see my hook sizes chart for UK sizes
- Yarn needle and scissors
- 3–5 buttons
- Stitch markers (helpful) and a tape measure
Skill level: easy. Size: S–M. You will make 54 sunflower squares.
Special Stitches
Puff stitch: yarn over, insert the hook in the stitch, yarn over and pull up a loop. Repeat 2 more times in the same stitch (7 loops on the hook). Yarn over and pull through all loops, then ch 1 to close.
4-dc bobble: work 4 dc in the same space, keeping the last loop of each on the hook (5 loops). Yarn over and pull through all 5.
New to abbreviations? My guide on how to read a crochet pattern explains every one.
Steps 1–3: The Sunflower Center
Round 1 (soil brown): Make a magic ring. Ch 3 (counts as your first dc), then work 15 dc into the ring. Pull the tail to close the ring and sl st to the top of the ch-3. Fasten off. (16 stitches)
Round 2 (mustard yellow): Join the mustard in any stitch. Ch 2 (does not count as a stitch). Work 1 puff stitch in each stitch around. Sl st to the top of the first puff and fasten off. (16 puffs)
Step 4: The Yellow Petals
Round 3 (bright yellow): Join the bright yellow in any space between two puffs. Ch 2 (does not count as a stitch). Work a 4-dc bobble in each space between the puffs. Sl st to the top of the first bobble and fasten off. (16 bobbles)
Count to 16 after every round — it saves a lot of unravelling later.
Step 5: The Square Border
Round 4 (cream):
- Join the cream in any space between two bobbles. This is your first corner.
- Ch 4 (counts as the first tr), then work 2 tr in the same space.
- *3 dc in the next space, 3 hdc in the next space, 3 dc in the next space, then (3 tr, ch 3, 3 tr) in the next space for a corner.* Repeat from * to * 2 more times.
- 3 dc in the next space, 3 hdc in the next space, 3 dc in the next space.
- 3 tr in the first space, ch 3, and sl st to the top of the ch-4. Fasten off and weave in the ends. (4 corners)
Step 6: Make 54 Squares
Repeat steps 1 to 5 until you have 54 squares. Then block them all: wet them, pin them square and let them dry. Squares that are all the same size are what make the panels lie flat.
Step 7: Arrange the Panels
Lay all 54 squares on the floor before joining and arrange them into 5 panels:
- Back: 5 squares wide, 4 squares tall (20 squares)
- Left front: 2 wide, 4 tall (8 squares)
- Right front: 2 wide, 4 tall (8 squares)
- Sleeves: 3 wide, 3 tall (9 squares each, make 2)
Steps 8–9: Join and Assemble
Join the squares: hold two squares together and join them with sl st through the outer loops only. This leaves a soft raised ridge around every square. Join the squares into the 5 panels.
Assemble the cardigan (keep the work wrong side out and use the same sl st join):
- Shoulders: lay the back flat with a front on each side. Join each front to the back along the shoulder edge.
- Sleeves: starting where the front and back meet at the shoulder, join the top edge of each sleeve across the armhole.
- Sleeve seams: fold each sleeve in half and join its long edge from the cuff up to the underarm.
- Side seams: join the side edges of the fronts and back, from the underarm down to the hem.
- Try it on: turn it right side out and check the fit before adding the ribbing.
Step 10: Ribbing and Front Band
Make 4 strips: one for the hem, one for each cuff, and one long strip for the front band and neckline.
- Ch the width you want for the ribbing, plus 1.
- Sc in the 2nd ch from the hook and in each ch across.
- Ch 1, turn. Sc in the back loop only of each stitch across.
- Repeat step 3 until the strip reaches all the way around its edge, stretched very slightly. Fasten off.
- Make the front band narrower than the cuffs and hem.
- Join each strip with sl st from the inside, through both loops, for a smooth, flat seam.
Finishing
Sew on the buttons, using the gaps between the stitches as buttonholes. Weave in all the ends, then block the cardigan one more time and let it dry flat.
Get the Printable PDF
Want to crochet from paper, without ads? The Sunflower Granny Square Cardigan PDF has every step with large photos, laid out to print and keep beside you while you work.
👉 Get the printable PDF pattern on Etsy
You are welcome to sell the cardigans you make — please credit Crochet Henouda.
Sunflower Granny Square Cardigan: Free Crochet Pattern
- Skill level
- Easy
- Yarn
- Aran / worsted (4) cotton in soil brown, mustard, bright yellow and cream
- Hook
- 5 mm (H-8)
- Finished size
- Size S–M
Materials
- Aran / worsted (4) cotton yarn: soil brown
- Aran / worsted (4) cotton yarn: mustard yellow
- Aran / worsted (4) cotton yarn: bright yellow
- Aran / worsted (4) cotton yarn: cream
- 5 mm (US H-8) crochet hook
- Yarn needle
- Scissors
- 3–5 buttons
- Stitch markers (helpful)
- Tape measure
Abbreviations (US terms)
- ch
- chain
- sl st
- slip stitch
- sc
- single crochet
- hdc
- half double crochet
- dc
- double crochet
- tr
- treble crochet
- MR
- magic ring
- sp
- space
- st(s)
- stitch(es)
- BLO
- back loop only
Instructions
Notes: US terms. Join every round with a sl st and fasten off before changing color. Make 54 squares.
Round 1 (soil brown): MR, ch 3 (counts as dc), 15 dc in the ring. Pull closed, sl st to top of ch-3. Fasten off. (16 sts)
Round 2 (mustard): Join in any st, ch 2 (does not count), 1 puff stitch in each st around. Sl st to first puff. Fasten off. (16 puffs)
Round 3 (bright yellow): Join in any space between two puffs, ch 2 (does not count), 4-dc bobble in each space around. Sl st to first bobble. Fasten off. (16 bobbles)
Round 4 (cream): Join in any space between two bobbles (first corner). Ch 4 (counts as tr), 2 tr in the same space. 3 dc in next sp, 3 hdc in next sp, 3 dc in next sp, (3 tr, ch 3, 3 tr) in next sp 3 times. 3 dc, 3 hdc, 3 dc in the next 3 spaces. 3 tr in the first space, ch 3, sl st to top of ch-4. Fasten off. (4 corners)
Blocking: Block all 54 squares to the same size before joining.
Panels: Back 5 wide × 4 tall (20). Left front 2 × 4 (8). Right front 2 × 4 (8). Sleeves 3 × 3 (9 each, make 2).
Joining: Hold two squares together, sl st through the outer loops only, leaving a raised ridge. Join into the 5 panels.
Assembly: Wrong side out, same sl st join. Join fronts to back at the shoulders. Join the top edge of each sleeve across the armhole, starting at the shoulder seam. Fold each sleeve and join from cuff to underarm. Join the side seams from underarm to hem. Try on before the ribbing.
Ribbing (make 4: hem, 2 cuffs, front band): Ch the width you want + 1. Sc in 2nd ch from hook and across. Ch 1, turn, sc in BLO across; repeat until the strip fits its edge, stretched very slightly. Make the front band narrower than the cuffs and hem. Join with sl st from the inside through both loops.
Finishing: Sew on 3–5 buttons, using the gaps between stitches as buttonholes. Weave in all ends and block the cardigan flat.
© 2026 Henouda · www.crochethenouda.com. You may sell items you make from this pattern; please credit Crochet Henouda. Do not copy, share or sell the pattern itself.
Frequently asked questions
How many granny squares do I need for this cardigan?
54 squares for a size S–M: 20 for the back panel, 8 for each front panel, and 9 for each sleeve. To make it bigger, add a column to the back and each front, or a row to every panel.
What yarn is best for a sunflower granny square cardigan?
Aran or worsted weight (4) cotton. Cotton keeps the puff stitch petals plump and crisp, which is what makes the sunflowers read as flowers. Wool is warmer but the petals soften with wear.
Can a beginner make this cardigan?
Yes. There is no shaping, no armhole decreasing and no sleeve cap. If you can work a granny square and sew a straight seam, you can make this. The only real skill is patience — 54 squares takes time.
How do I change the size?
Everything is counted in squares. Add a column to the back and each front to go wider, a row to go longer, and a row to each sleeve for longer arms. For a bigger change, use a larger hook or thicker yarn so the square itself grows.
Why do my granny squares curl instead of lying flat?
Almost always the border round. The corners need taller stitches than the sides — if every stitch is the same height the square cups. Blocking fixes small waves, but a curling square usually means a miscount in the final round.
More free patterns you’ll love
 Free patterns
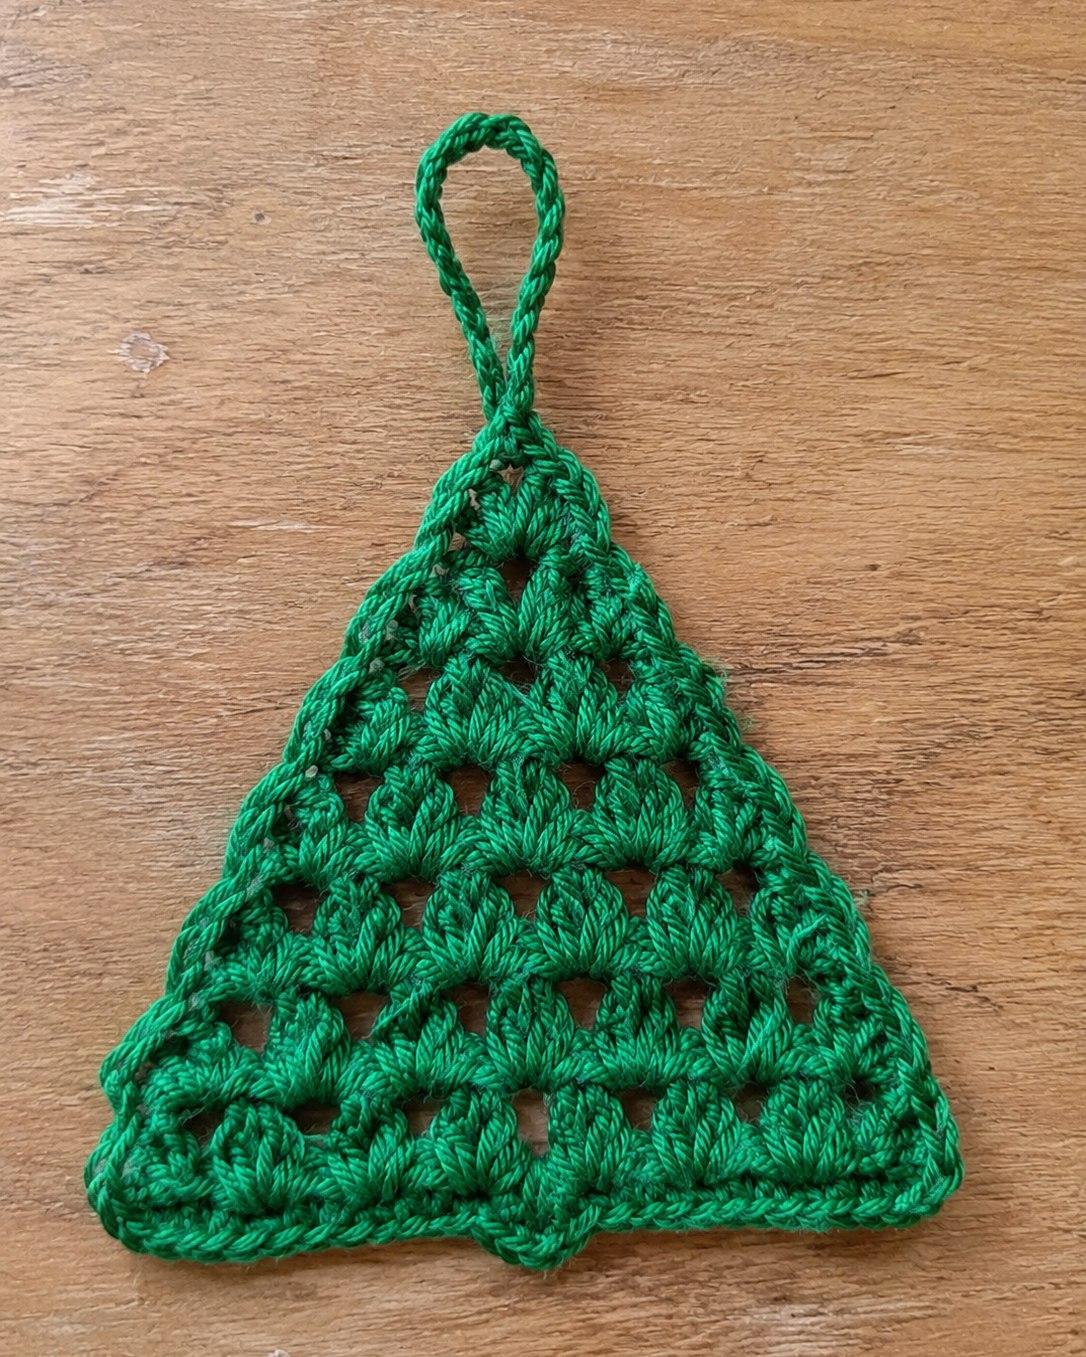
Free Crochet Christmas Tree Ornament Pattern (Easy Granny Stitch)
A flat granny stitch tree with a hanging loop and a little trunk. Beginner friendly, with the full free pattern and 16 photo steps in US terms.
 Free patterns
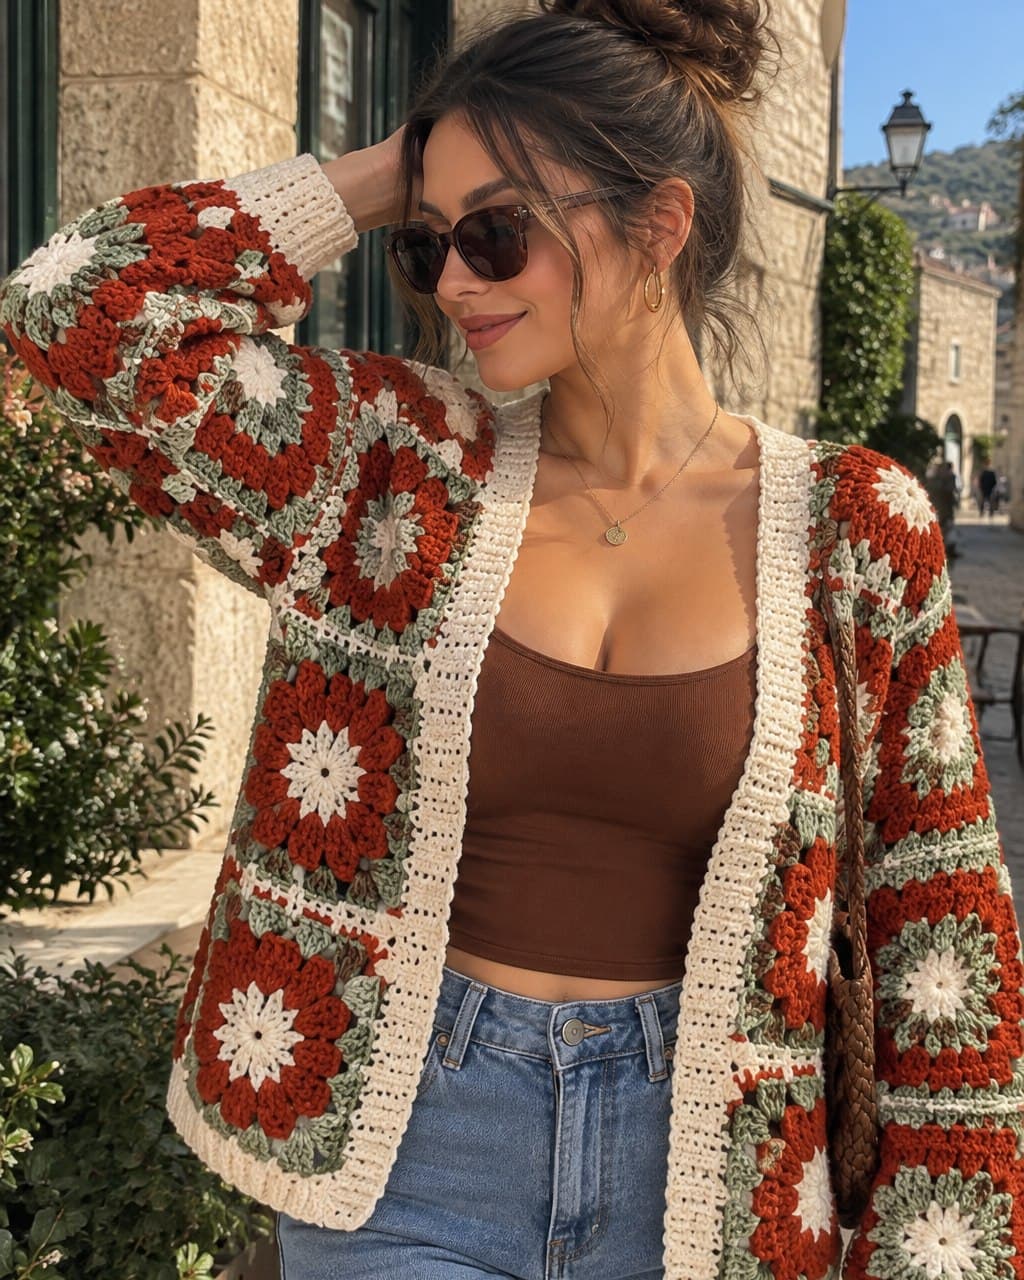
Rust & Sage Granny Square Cardigan: Free Pattern
The free sunflower granny square cardigan in warm rust, sage green and cream: 54 squares, five panels and cream ribbing, with a photo for every stage.
 Free patterns
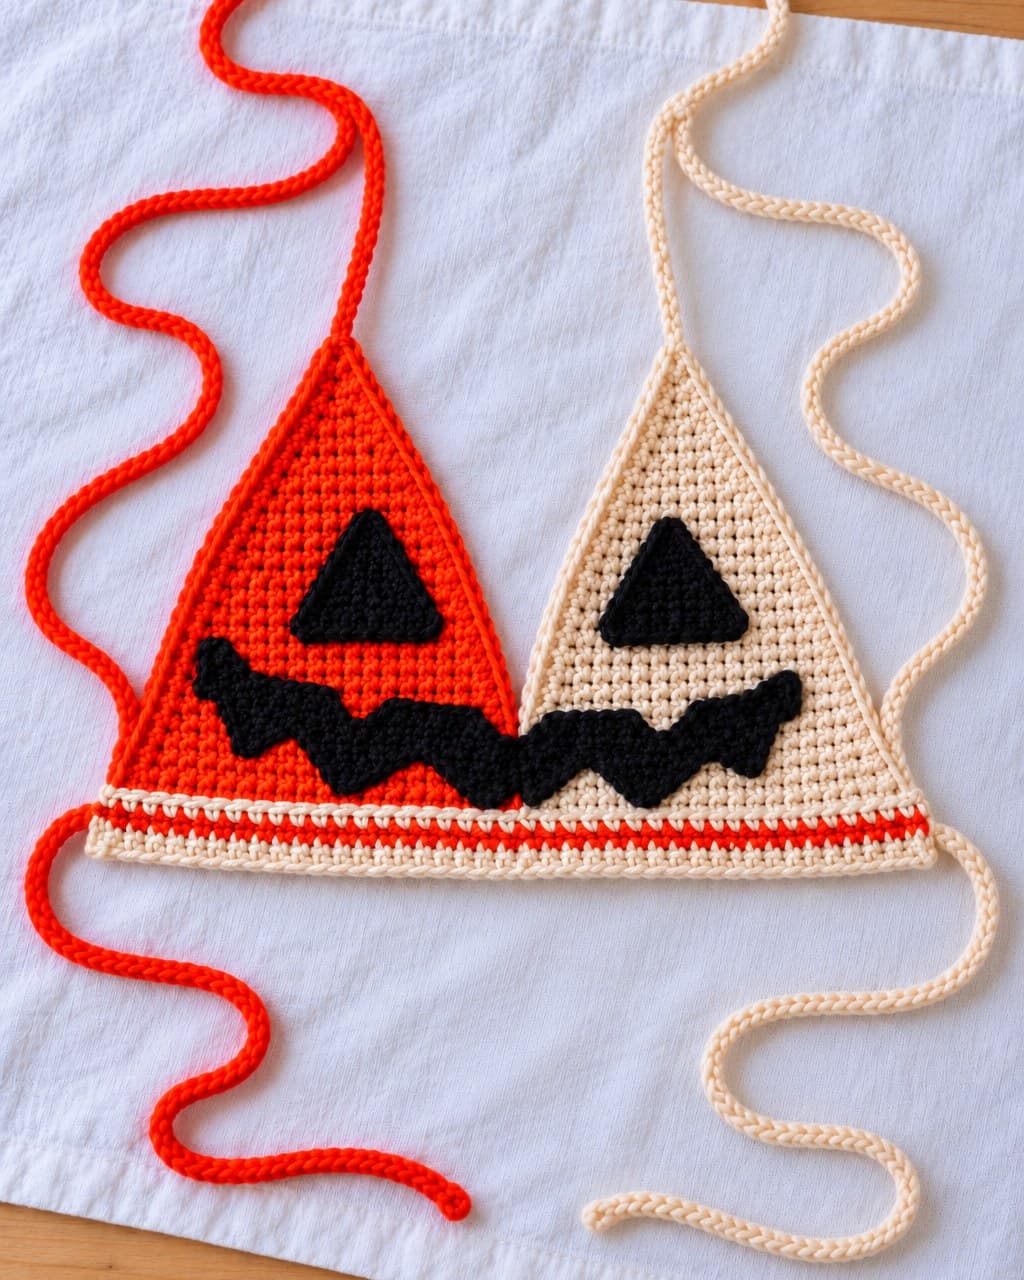
Lantern Crop Top: Free Jack-o'-Lantern Crochet Pattern
A free crochet pattern for a jack-o'-lantern halter top: one orange cup, one cream cup and a black pumpkin face. Easy, worsted cotton, row by row with stitch counts.