 Crochet Henouda
Free Crochet Christmas Tree Ornament Pattern (Easy Granny Stitch)
A flat granny stitch tree with a hanging loop and a little trunk. Beginner friendly, with the full free pattern and 16 photo steps in US terms.
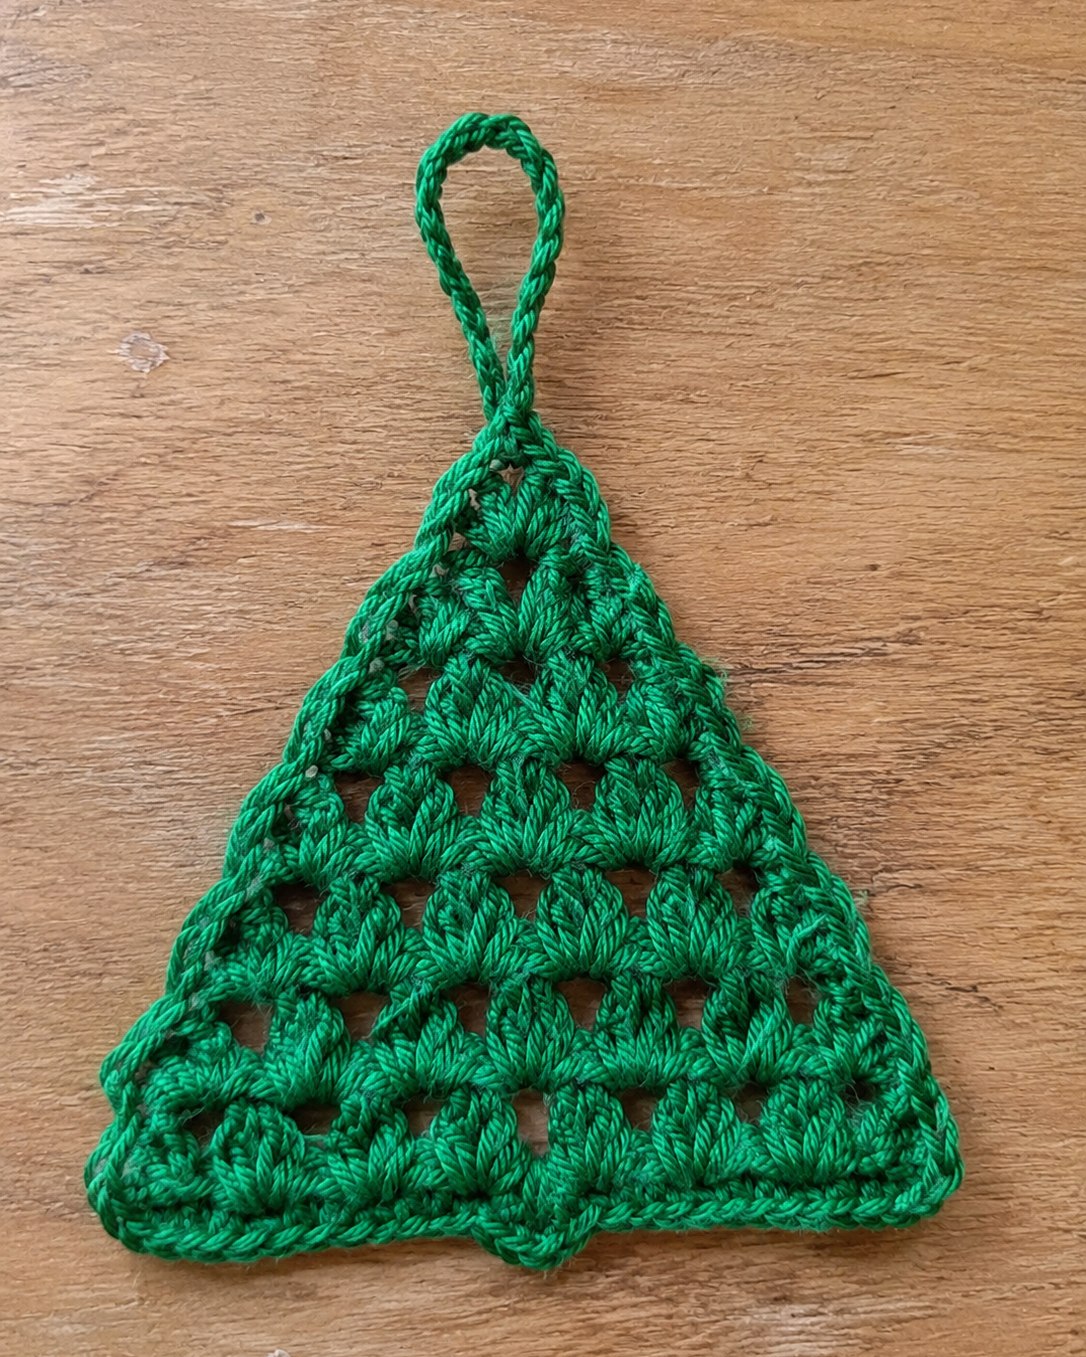
This little tree is one of the simplest Christmas ornaments you can crochet. It is a flat triangle of double crochet groups, the same idea as a granny stitch, with open spaces between them. A chain loop at the top lets it hang, and a small trunk finishes the bottom edge.
The rows do the shaping for you: 5 groups, then 4, 3, 2 and 1. If you can chain, double crochet and slip stitch, you can make it. The full pattern is free below, with 16 photo steps in US terms.
Why You Will Love This Ornament
- It is beginner friendly. You only need chains, double crochet and slip stitches.
- It shapes itself. Each row has one group fewer than the row before, so the triangle forms on its own.
- It has a photo for every step. There are 16 of them, from the first chain to the last woven end.
- It grows with you. Add 3 chains at the start for each extra group and you get a bigger tree.
What You Need
- Yarn: green yarn, or any Christmas color you like.
- Hook: the size your yarn label recommends. My crochet hook sizes chart has every size in mm, US and UK.
- Yarn needle: for weaving in the ends.
- Scissors.
This pattern uses US terms. If you learned UK terms, my US vs UK crochet terms chart will help, and how to read a crochet pattern explains abbreviations and repeats.
Good to Know Before You Start
- You work in rows, so turn your work at the end of each row.
- The ch 3 at the start of a row counts as the first stitch.
- Groups of 3 dc, worked into the spaces of the row below, make the openwork.
Step-by-Step Photo Tutorial
The full written pattern is in the printable card further down. Here is what each step looks like.
1. Foundation chain
With green yarn, make a slip knot and chain 19. Keep the chain relaxed and untwisted.
2. Count 4 chains
Count 4 chains from the hook and skip them. The first 3 skipped chains count as your first stitch.
3. First groups
Work 3 dc into the next chain, the 5th from the hook. Then skip 2 chains and work 3 dc into the next chain. Repeat that 3 more times, so you have 5 groups.
4. Finish Row 1
Skip 1 chain and work 1 dc into the last chain.
5. Chain 3 and turn
Ch 3 and turn your work. The ch 3 counts as the first stitch of the new row.
6. Row 2
Work 3 dc into each space between two groups of the row below, 4 times.
7. Finish Row 2
Skip 3 stitches and work 1 dc into the very last stitch. You now have 4 groups.
8. Row 3
Ch 3 and turn. Work 3 dc into each space, 3 times. Skip 3 stitches and work 1 dc into the last stitch.
9. Rows 4 and 5: the top
Ch 3, turn. Work 3 dc into each space, 2 times. Skip 3 stitches and work 1 dc into the last stitch. Then ch 3, turn, and work 3 dc into the last space. Skip 3 stitches and work 1 dc into the last stitch.
10. Hanging loop
Ch 15 to make the hanging loop.
11. Close the loop
Join the chain to the top of the tree with a slip stitch. Make sure the loop is secure.
12. Slip stitch border
Work slip stitches down the side of the tree, following the triangle shape.
13. Reach the bottom middle
Keep working slip stitches along the bottom edge until you reach the middle stitch.
14. Little trunk
Ch 3, work 4 dc into the middle stitch, ch 3 and slip stitch into the same stitch.
15. Finish the border
Slip stitch along the rest of the edge up to the loop. Fasten off, leaving a short tail.
16. Weave in the ends
Weave in the ends with the yarn needle and gently shape your tree. Your ornament is ready!
Make a Bigger Tree
Chain 3 more for each extra group: ch 22 gives 6 groups and ch 25 gives 7 groups. Then keep working rows until 1 group is left, and finish with the same loop, border and trunk.
Ways to Use Your Trees
- Hang one on the Christmas tree, on a gift or in a window.
- Make a whole forest in festive colors.
- String a few together for a Christmas tree garland.
Get the Printable PDF
Would you rather crochet away from the screen? The ad-free PDF on Etsy has this pattern on 7 A4 pages, ready to print, with all 16 photo steps, the row-by-row quick pattern and the bigger tree bonus. It is an instant digital download, not a finished ornament.
Save This Pattern for Later
Pin the photo below so you can find it again in December, and follow me on Pinterest for new patterns.
More Christmas Crochet Patterns
- Spiral Christmas Tree Ornament: another free pattern, posable with hidden wire.
- Fir Tree Garland: textured trees with cream stars on jute twine.
- Candy Cane Curly Wreath: a red and cream ornament.
- Crochet Gingerbread Man: a cute amigurumi in a Santa hat.
Free Crochet Christmas Tree Ornament Pattern (Easy Granny Stitch)
- Skill level
- Beginner
- Yarn
- Green yarn, or any Christmas color
- Gauge
- Not important for this project
Materials
- Green yarn, or any Christmas color
- Crochet hook in the size your yarn label recommends
- Scissors
- Yarn needle, for weaving in ends
Abbreviations (US terms)
- ch
- chain
- dc
- double crochet
- sl st
- slip stitch
- sk
- skip
- st(s)
- stitch(es)
- sp
- space
- FO
- fasten off
- [ ]
- repeat the steps inside
Instructions
Notes: US terms. Worked in rows: turn your work at the end of each row. The ch 3 at the start of a row counts as the first stitch. Groups of 3 dc, worked into the spaces of the row below, make the openwork.
Row 1: Ch 19. 3 dc in 5th ch from hook, [sk 2 ch, 3 dc in next ch] 4 times. Sk 1 ch, dc in last ch. (5 groups)
Row 2: Ch 3, turn. 3 dc in each sp between groups (4 times). Sk 3 sts, dc in last st. (4 groups)
Row 3: Ch 3, turn. 3 dc in each sp (3 times). Sk 3 sts, dc in last st. (3 groups)
Row 4: Ch 3, turn. 3 dc in each sp (2 times). Sk 3 sts, dc in last st. (2 groups)
Row 5: Ch 3, turn. 3 dc in the last sp. Sk 3 sts, dc in last st. (1 group)
Hanging loop: Ch 15, sl st into the top of the tree.
Border: Sl st around the edge. At the bottom middle: ch 3, 4 dc in the same st, ch 3, sl st in the same st. Sl st up to the loop, FO and weave in the ends.
Bigger tree: Ch 3 more for each extra group (ch 22 = 6 groups, ch 25 = 7 groups), then keep working rows until 1 group is left.
© 2026 Henouda · www.crochethenouda.com. You may sell items you make from this pattern; please credit Crochet Henouda. Do not copy, share or sell the pattern itself.
Frequently asked questions
Is this crochet Christmas tree ornament pattern free?
Yes. The full written pattern and all 16 step photos are free on this page. If you would rather print it, an ad-free PDF is available on Etsy.
Is this pattern good for beginners?
Yes. It only uses chains, double crochet and slip stitches, and each row has one group fewer than the row before, so the tree shapes itself.
What yarn should I use?
Use any yarn you like, in green or another Christmas color, with the hook size on the yarn label. Thicker yarn makes a bigger tree.
How do I make the tree bigger?
Chain 3 more for each extra group. Ch 22 gives 6 groups and ch 25 gives 7 groups. Keep working rows until 1 group is left.
Why is my tree not a neat triangle?
Count your groups first: Row 1 has 5, then 4, 3, 2 and 1. End every row with 1 dc in the last stitch, and gently shape the tree when you finish.
More free patterns you’ll love
 Free patterns
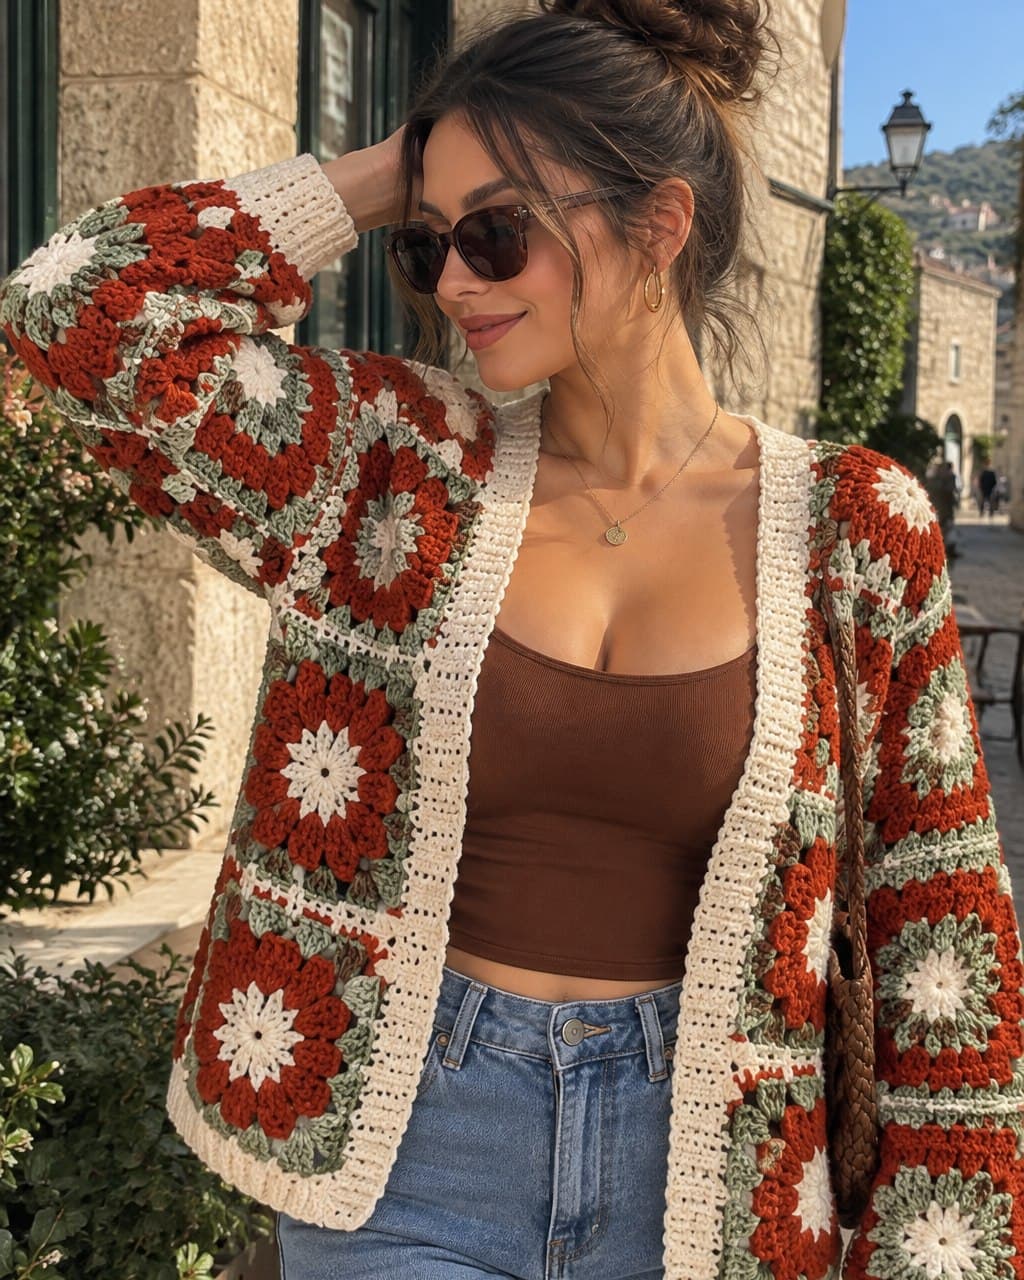
Rust & Sage Granny Square Cardigan: Free Pattern
The free sunflower granny square cardigan in warm rust, sage green and cream: 54 squares, five panels and cream ribbing, with a photo for every stage.
 Free patterns
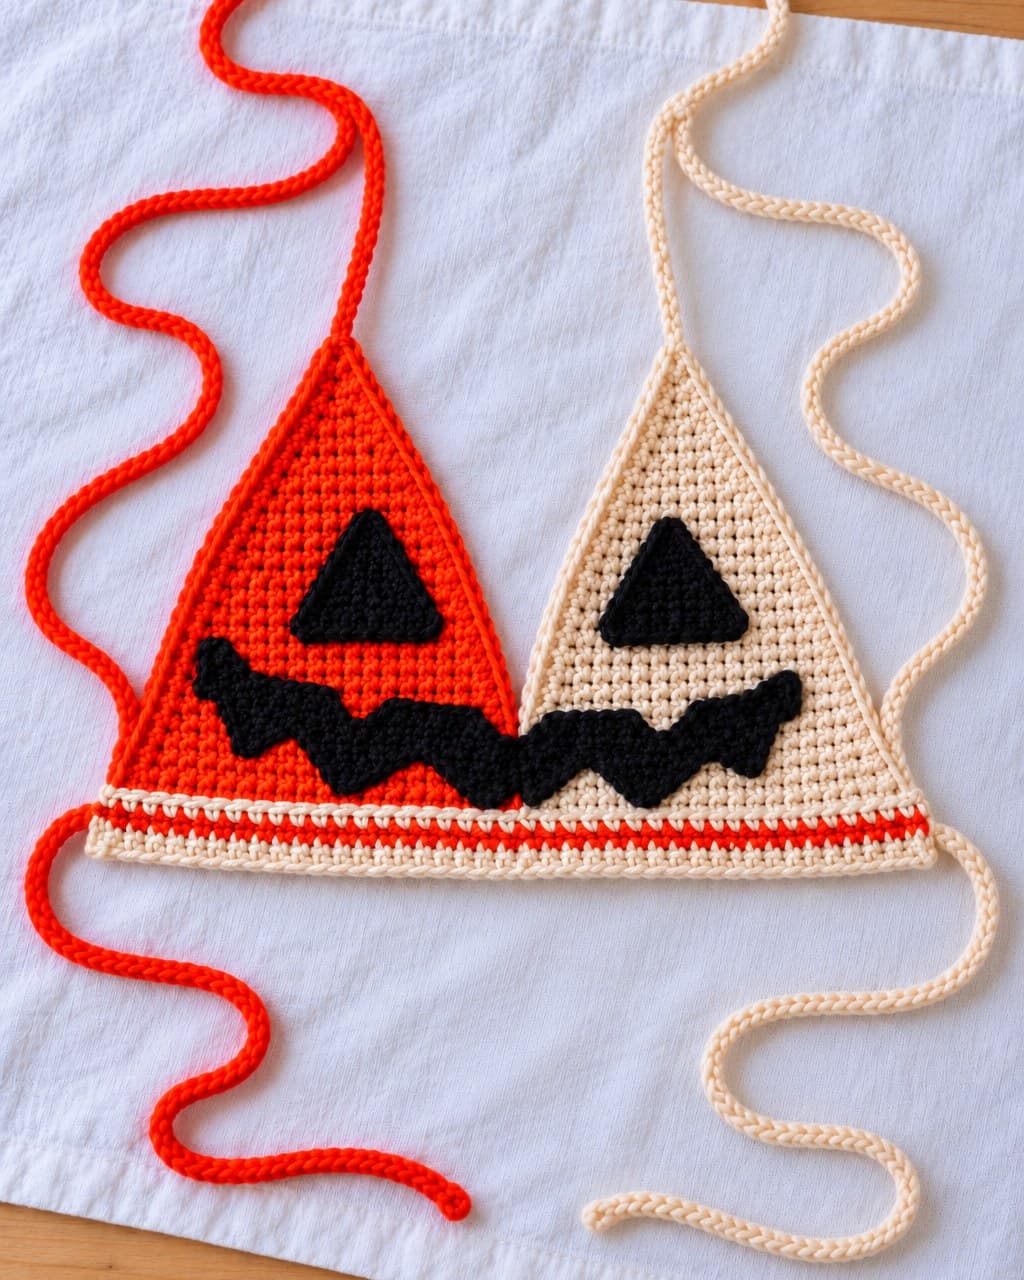
Lantern Crop Top: Free Jack-o'-Lantern Crochet Pattern
A free crochet pattern for a jack-o'-lantern halter top: one orange cup, one cream cup and a black pumpkin face. Easy, worsted cotton, row by row with stitch counts.
 Free patterns
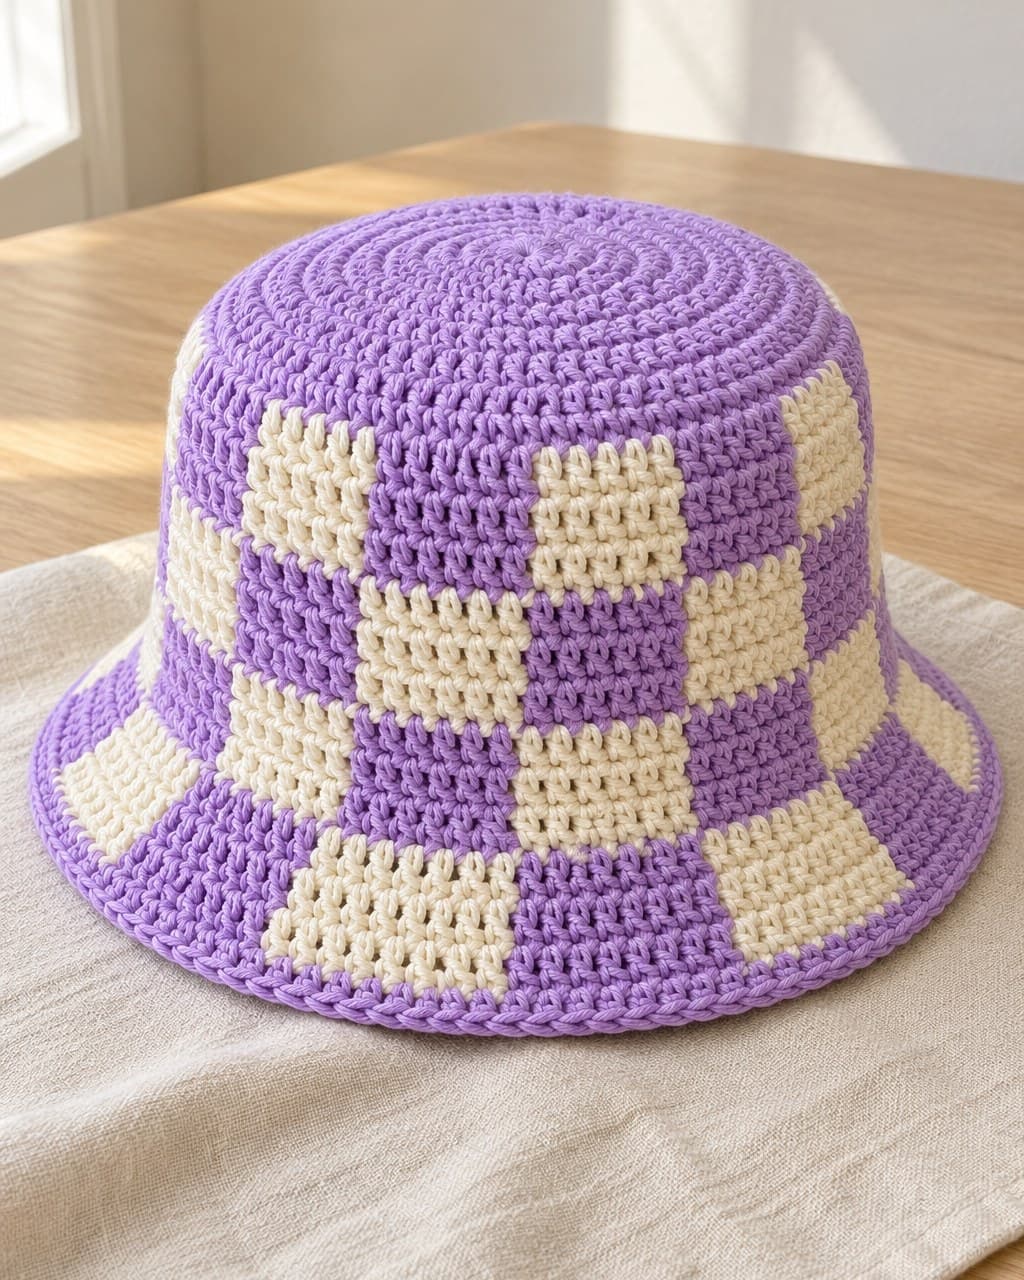
Checkered Crochet Bucket Hat: Free Pattern + Style Ideas
A free round-by-round pattern for a lavender and cream checkered crochet bucket hat, plus daisy, solid and striped bucket hat ideas.