 Crochet Henouda
Lantern Crop Top: Free Jack-o'-Lantern Crochet Pattern
A free crochet pattern for a jack-o'-lantern halter top: one orange cup, one cream cup and a black pumpkin face. Easy, worsted cotton, row by row with stitch counts.
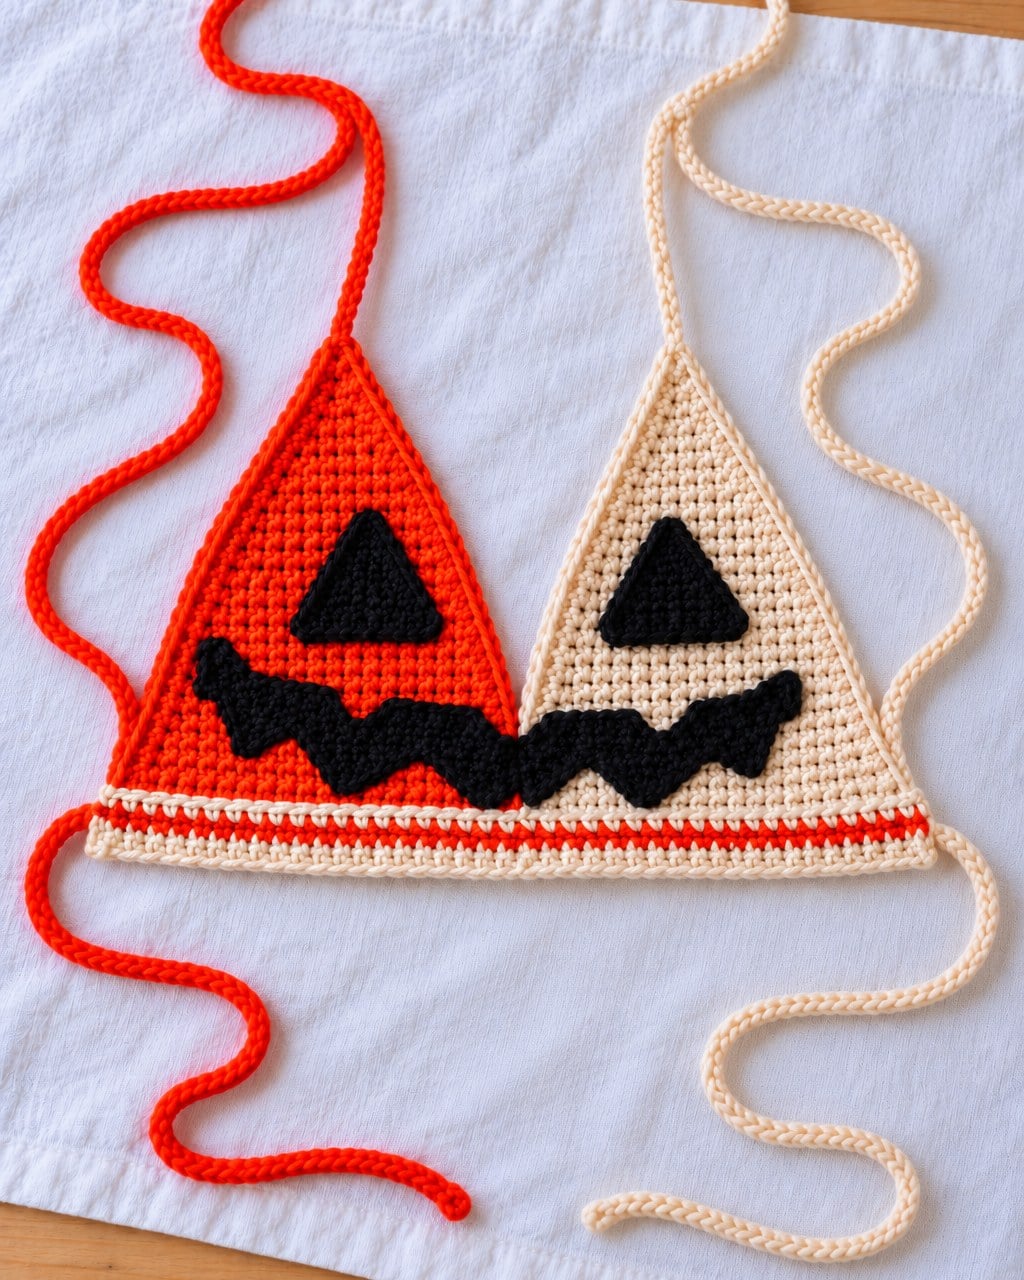
Halloween is the one night a year you can wear a pumpkin and look adorable doing it. The Lantern Crop Top is a little jack-o'-lantern halter top: one cup in pumpkin orange, one in cream, and a black crochet face that grins across both of them.
It is an easy pattern in worsted cotton, worked flat in simple single crochet, and it comes together over a weekend — so there is still time to make it before the party.
The full pattern is free below — every piece, row by row, with stitch counts. Prefer to crochet from paper? The printable, ad-free PDF with all the photos and a mouth diagram is in my Etsy shop.
Why You Will Love This Top
- It is a real Halloween costume you can wear again — with high-waisted jeans, over a long-sleeve top, or to a fall festival.
- It is easy. Mostly single crochet, worked in rows, with a stitch count on every line.
- It is adjustable. The cups, body and lacing all adapt to the size you need, and the back laces up like a corset.
- The face is the fun part. Little black eyes, a nose and a jagged pumpkin grin, crocheted separately and sewn on.
What You Need
- Worsted weight (4) 100% cotton yarn in three colors: pumpkin orange, cream and black
- A 5 mm (US H-8) crochet hook — or the size that gives you firm, tight stitches (see my hook sizes chart)
- A stitch marker, a tapestry needle and scissors
How It Comes Together
The top is made in a few small, satisfying pieces. First the two triangle cups grow from a short chain into neat pointed shapes.
Then the cups are joined by a band, with an optional pumpkin-orange stripe that ties the two colors together.
The face pieces are crocheted in black and sewn on, then a picot edging, long neck straps and a lace for the back finish it off. Every step is in the free pattern card below.
Prefer a Printable Copy?
The free pattern below has everything you need. If you like to work from paper, the 11-page PDF adds:
- Materials checklist and space to note your yarn
- Sizing and fit notes, gauge, all abbreviations in US terms and the special stitches explained
- The cups, body, eyes, nose and mouth row by row with stitch counts
- A mouth diagram so the pumpkin teeth come out just right
- Sewing the face, the edging, neck straps and back lacing
- A finishing checklist and progress trackers
The One I Made
This is my own sample, made in a slightly chunkier cotton — proof that the shape works with whatever yarn you have on hand. Each one comes out with its own little personality.
Make It Your Own
- One color: make both cups in orange for a classic pumpkin.
- Spooky version: black cups with an orange face.
- Bralette style: stop the band after a few rows for a shorter top.
You are welcome to sell the tops you make from the pattern — just credit Crochet Henouda.
Tips Before You Start
- Crochet tightly. Firm single crochet keeps the cups from stretching and makes the face pieces easy to sew flat. Go down a hook size if your fabric looks holey.
- Try the cups on as you go. Stop adding rows when a cup covers comfortably; the band, straps and lacing adapt to whatever size you make.
- Leave long tails on the eyes, nose and mouth: you sew them on with those tails.
The full pattern is right below. 👇 And if you'd like a printable, ad-free copy, 👉 get the Lantern Crop Top PDF on Etsy.
Making more Halloween and fall projects? Try my free pumpkin coaster — it's a quick one for the table.
Lantern Crop Top: Free Jack-o'-Lantern Crochet Pattern
- Skill level
- Easy
- Yarn
- Worsted (4) 100% cotton in pumpkin orange, cream and black
- Hook
- 5 mm (H-8)
- Gauge
- Not critical — firm, tight single crochet
- Finished size
- Size S (adjustable); cups about 13–14 cm (5–5½ in) tall
- Time
- A weekend
Materials
- Worsted (4) 100% cotton yarn, Color A: pumpkin orange
- Worsted (4) 100% cotton yarn, Color B: cream
- Worsted (4) 100% cotton yarn, Color C: black
- 5 mm (US H-8) crochet hook
- 1 stitch marker
- Tapestry (yarn) needle
- Scissors
Abbreviations (US terms)
- ch
- chain
- sl st
- slip stitch
- sc
- single crochet
- dc
- double crochet
- inc
- 2 sc in the same st
- sc2tog
- sc 2 together
- st(s)
- stitch(es)
- sp
- space
- rep
- repeat
- RS
- right side
- A / B / C
- yarn colors
Instructions
Notes: US terms. Size S, easy to adjust. Each piece is worked in rows, turning at the end of every row; the ch 1 at the start of a row does not count as a stitch. Stitch counts are in parentheses. Colors: A pumpkin orange, B cream, C black.
Special stitches: sc2tog — insert hook in next st, pull up a loop, insert in following st, pull up a loop, yarn over and pull through all 3 loops. Picot — ch 3, insert hook into the front loop and side bar of the sc just made, yarn over and pull through everything. Eyelet — ch 1, skip 1 st, dc in next st.
The cups (make 1 in A and 1 in B)
Foundation: Ch 13.
Row 1: Sc in 2nd ch from hook and in each of next 10 ch, 3 sc in last ch. Place a marker in the middle sc of these 3. Working along the other side of the foundation ch, sc in each of next 11 ch. (25 — 12 sts each side of the marker)
Row 2: Ch 1, turn. Sc in each st up to the marked st, 3 sc in marked st (move the marker to the middle sc), sc in each st to end. (27)
Rows 3–11: Rep Row 2. (45 — 22 sts each side of the marker) Fasten off. The cup measures about 13–14 cm (5–5½ in) from the bottom edge to the tip. For a bigger cup, start with a longer chain or work more rows.
The body (B)
Set up: Lay both cups upside down (tips towards you), right sides up, cup 1 on the right.
Join: Make a slip knot and ch 10. Sl st into the last st of Row 11 on cup 1 (the corner). Sc evenly along the bottom edge of cup 1, sc in the last corner st. Sl st into the corner st of cup 2, sc evenly along its bottom edge, sc in the last corner st. Ch 11.
Row 1: Sc in 2nd ch from hook and in each of next 9 ch, sc in each st along the cups (skip the sl st where they meet), sc in each of the 10 ch at the other end.
Row 2 and on: Ch 1, turn, sc in each st across. Repeat until the body is about 13–14 cm (5–5½ in) tall, or stop at 3–4 cm for a shorter, bralette-style band. Pumpkin stripe (optional): work 1 row in A two rows before the end, then finish in B.
Eyes and nose (C — make 2 eyes and 1 nose)
Row 1: Ch 2, sc in 2nd ch from hook. (1)
Row 2: Ch 1, turn, inc (2 sc) in the st. (2)
Row 3: Ch 1, turn, inc in each st. (4)
Row 4: Ch 1, turn, sc in each st. (4)
Row 5: Ch 1, turn, inc, sc in next 2 sts, inc. (6)
Row 6: Ch 1, turn, sc in each st. (6) Nose: stop here, ch 1 and fasten off with a long tail.
Row 7: Ch 1, turn, inc, sc in each st to last st, inc. (8)
Row 8: Ch 1, turn, sc in each st. (8)
Rows 9–12: Rep Rows 7–8 twice more. (12) Eyes: ch 1 and fasten off with a long tail.
Mouth (C — one long piece)
Rows 1–4: Work as Rows 1–4 of the eyes. (4)
Row 5: Ch 1, turn, sc in next 3 sts, inc in last st. (5)
Row 6: Ch 1, turn, sc in each st. (5)
Row 7: Ch 1, turn, sc in next 4 sts, inc in last st. (6)
Rows 8–9: Ch 1, turn, sc in each st. (6)
Row 10 (tooth): Ch 1, turn, sc in first 3 sts only, leave the rest unworked. (3)
Rows 11–12: Ch 1, turn, sc in each of the 3 sts. At the end of Row 12, ch 4. (3)
Row 13: Sc in 2nd ch from hook and in next 2 ch, sc in next 3 sts. (6)
Row 14: Ch 1, turn, sc in each st. (6)
Rows 15–19: Rep Rows 10–14. Because you start from the other edge, this cut-out sits on the opposite side: one top tooth, one bottom tooth. (6)
Repeat: Rep Rows 10–19 until you have 6 cut-outs (3 top, 3 bottom), or until the mouth reaches from the outer corner of one eye to the outer corner of the other.
Taper Row 1: Ch 1, turn, sc in next 4 sts, sc2tog. (5)
Taper Row 2: Ch 1, turn, sc2tog, sc in next 3 sts. (4)
Taper Row 3: Ch 1, turn, sc in next 2 sts, sc2tog. (3)
Taper Row 4: Ch 1, turn, sc2tog, sc in last st. (2)
Taper Row 5: Ch 1, turn, sc2tog. Fasten off with a long tail. (1)
Sewing the face
Eyes: Place the tip of an eye at the center of each cup, pointing up, at the same height, and whip-stitch all around.
Nose: Center the small triangle between the cups, just below the eyes, and sew around it.
Mouth: Line up its corners with the outer corners of the eyes. Stretch it gently so the cut-outs open into neat squares, then sew around every tooth, the corners and the bottom. Weave in all ends on the wrong side.
Edging and neck straps (B, worked all the way around in one go)
Back 1: Join B in the bottom corner of one back edge. Ch 3 (counts as dc + ch 1), skip 1 st, dc in next st. Dc evenly along the edge, making 1 eyelet at the middle and 1 in the last st. (3 eyelets)
Side: Ch 1, 2 sc in the corner space, sc evenly along the top edge of the body to the cup.
Corner: Sc2tog over the last st of the body and the first st of the cup.
Cup 1 out: Sc in next 4 sts, picot, repeat to the tip of the cup.
Strap 1: At the tip, ch 81, sl st in 2nd ch from hook and in each ch back down (80 sl st). Sc in the same tip st. (Tip: make this strap in A, as in the photos.)
Cup 1 in: Sc in next 3 sts, picot, sc in next 4 sts, picot down to the center. Sc in the center st.
Cup 2 in: Sc in next 4 sts, picot up to the tip, symmetrical with cup 1.
Strap 2: Work as Strap 1, then picots down the outside of cup 2 and sc2tog at the corner.
Back 2: Sc along the body edge, then work the eyelet edge exactly as Back 1. (3 eyelets)
Bottom: Ch 1, 2 sc in the corner space, sc in next 3 sts, picot, sc in next 4 sts, picot along the bottom edge to the start. Fasten off.
Lacing and finishing
Lace: With B, ch 250 (size S) and fasten off — long enough to cross through all the eyelets and tie in a bow.
Finish: Thread the lace through the 3 eyelets on each back edge, criss-crossing like a corset, and tie at the bottom. Tie the neck straps behind your neck. Weave in all remaining ends.
© 2026 Henouda · www.crochethenouda.com. You may sell items you make from this pattern; please credit Crochet Henouda. Do not copy, share or sell the pattern itself.
Frequently asked questions
Is the jack-o'-lantern crop top easy to crochet?
Yes, it is an easy pattern worked in rows of mostly single crochet, with stitch counts, step photos and a diagram for the pumpkin mouth.
What yarn do I need for the Lantern Crop Top?
Worsted weight (4) 100% cotton in three colors — pumpkin orange, cream and black — and a 5 mm (H-8) hook, or the size that gives you firm stitches.
What size is the crop top?
The pattern is written for size S and is easy to adjust: the cups grow with a longer chain or more rows, and the band, straps and back lacing adapt to any cup size.
Can I make it in one color?
Yes. Make both cups in orange for a classic pumpkin, or try black cups with an orange face for a spooky version.
Is the Lantern Crop Top pattern free?
Yes. The full pattern — cups, body, face, edging, straps and lacing — is free on this page. A printable, ad-free PDF is also available in the Crochet Henouda Etsy shop.
More free patterns you’ll love
 Free patterns
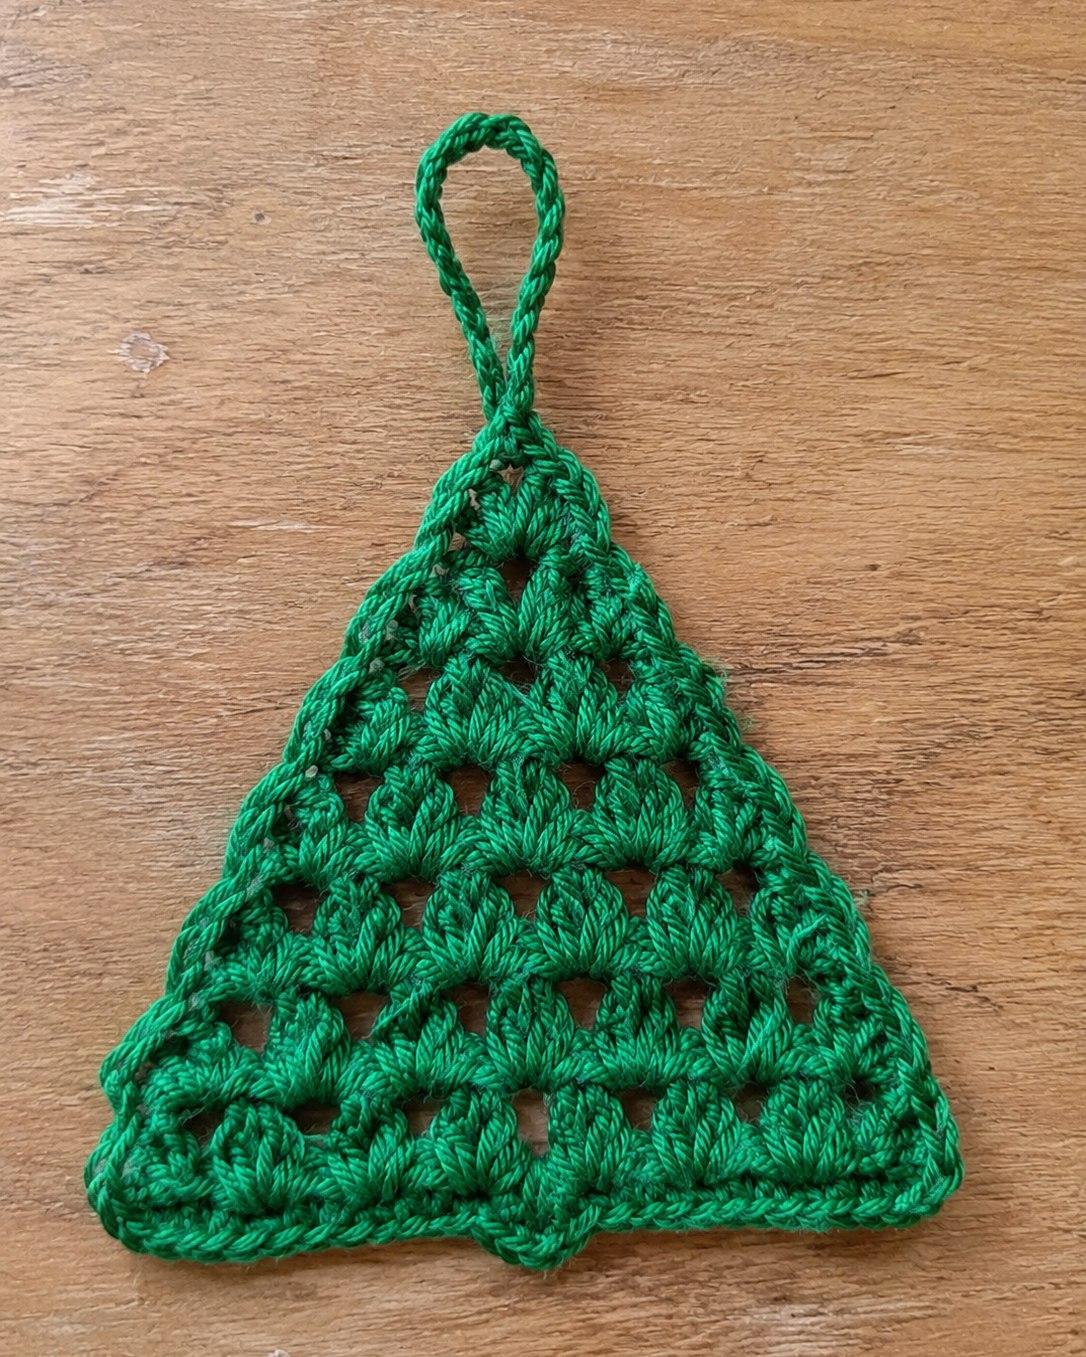
Free Crochet Christmas Tree Ornament Pattern (Easy Granny Stitch)
A flat granny stitch tree with a hanging loop and a little trunk. Beginner friendly, with the full free pattern and 16 photo steps in US terms.
 Free patterns
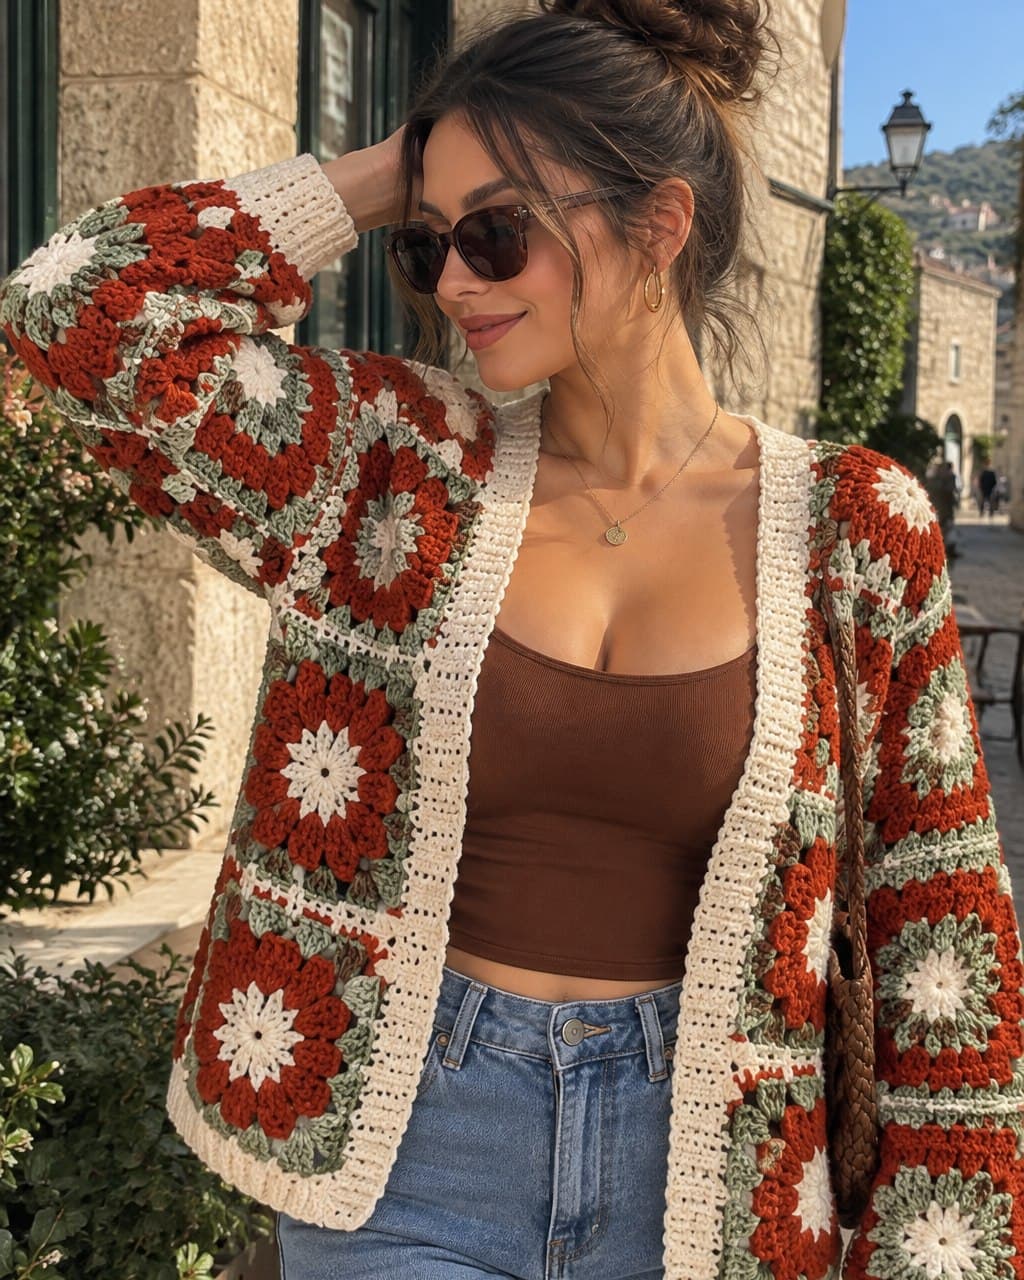
Rust & Sage Granny Square Cardigan: Free Pattern
The free sunflower granny square cardigan in warm rust, sage green and cream: 54 squares, five panels and cream ribbing, with a photo for every stage.
 Free patterns
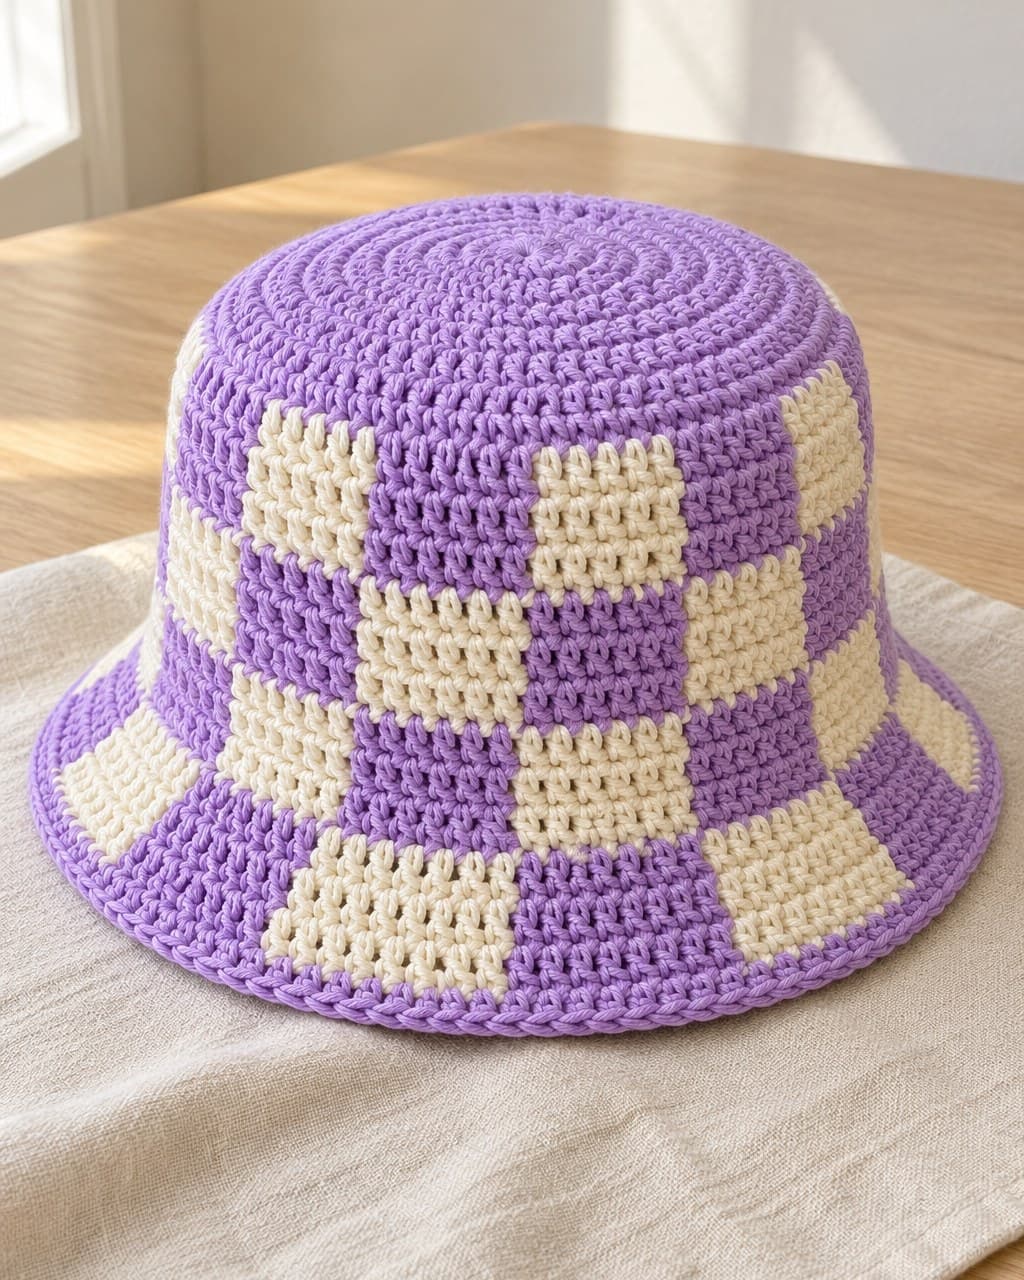
Checkered Crochet Bucket Hat: Free Pattern + Style Ideas
A free round-by-round pattern for a lavender and cream checkered crochet bucket hat, plus daisy, solid and striped bucket hat ideas.