 Crochet Henouda
Checkered Crochet Bucket Hat: Free Pattern + Style Ideas
A free round-by-round pattern for a lavender and cream checkered crochet bucket hat, plus daisy, solid and striped bucket hat ideas.
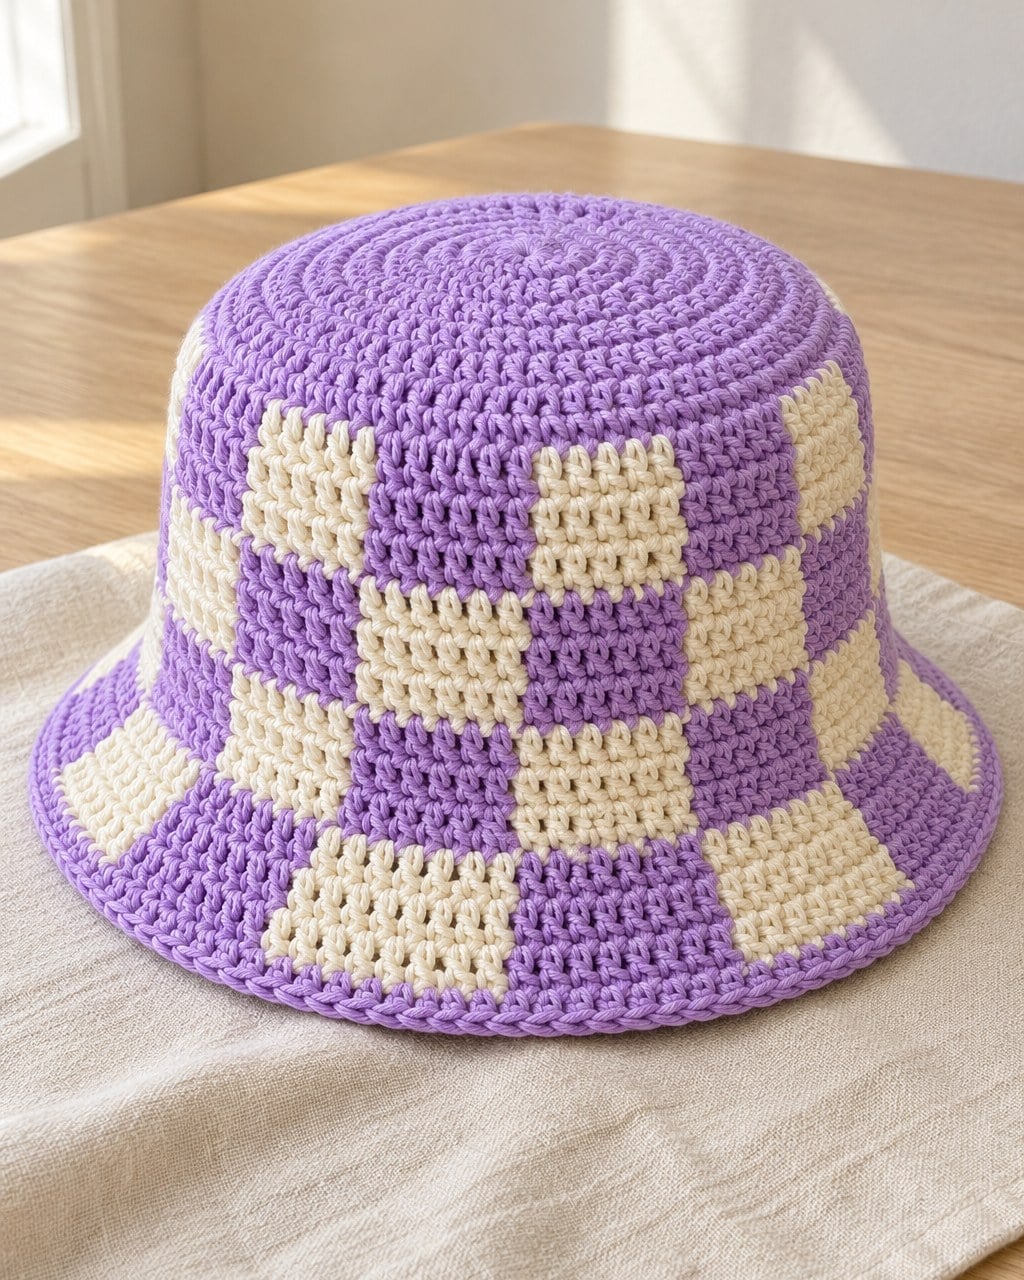
The crochet bucket hat is the accessory everyone wants right now — and the good news is that it is one of the friendliest hats you can make. It is worked in the round from the top down, there is no seaming, and you can try it on as you go.
The fun part is choosing the look. Daisies, checks or a clean classic? Here are my favorite bucket hat styles, what makes each one special, and how a bucket hat is built.
And the checkered one is free: the full pattern for the lavender and cream hat in these photos is below, round by round, with stitch counts — jump straight to it with the button at the top of the page.
How a Crochet Bucket Hat Is Built
Almost every bucket hat follows the same three-part shape, whatever the colors:
- The crown. A flat circle worked in the round from a magic ring, increasing evenly until it is about the width of the top of your head.
- The sides. Rounds with no increases at all, so the fabric drops straight down and becomes the band of the hat.
- The brim. A few rounds where the increases start again, so the edge flares out into that classic bucket shape.
Tip: measure the crown against your head before you stop increasing. If the circle is too small, the hat will perch on top; too big, and it will slide over your eyes. The crown should be roughly a third of your head circumference across.
Choosing Yarn and Hook
For a bucket hat that holds its shape, choose a cotton or cotton-blend yarn in worsted (4) or DK (3) weight and a hook a little smaller than the label suggests — tight stitches give a firm brim that doesn't flop. Cotton is also breathable, which matters for a summer hat. My crochet hook sizes chart helps you choose.
1. The Checkered Bucket Hat (Free Pattern Below)
The trend that started it all. In my version the top of the hat is a solid circle, and the checks begin where the sides drop down: blocks of 6 stitches, two rounds tall, swapping colors every two rounds so they alternate like a chessboard. On the brim, each block grows by one stitch per round, so the checks fan out with the flare and stay perfectly lined up.
You carry the color you are not using inside your stitches, so the inside stays tidy, with no long loops to catch. The complete round-by-round pattern is in the printable card further down.
Lavender and cream is soft and summery; forest green and cream looks more classic; black and white is bold.
2. The Daisy Bucket Hat
A plain hat in sage green or cream, scattered with crochet daisies sewn on afterwards. Each daisy is a tiny flower worked separately — a yellow center and white petals — so this is a lovely project if you like small, satisfying makes. Sew on five or six, or cover the whole crown.
3. The Classic Solid Bucket Hat
One color, simple rounds and nothing to distract from the shape. A solid hat in coral, terracotta or denim blue goes with everything and is the fastest version to make — the perfect first bucket hat. Once you have made one, every other style is the same hat with a twist.
4. Stripes and Two-Tone Brims
Change color every round or two for stripes, or keep the crown and sides in one color and work only the brim in a contrast color for a quick two-tone look. Both are a great way to use up leftover cotton.
Finishing Your Hat
Weave in each end through stitches of the same color, going one way and then back the other, so the tails disappear and can't work loose. A light steam or a damp block over a bowl helps the brim sit evenly.
Find Your Next Pattern
New to working in the round? My guide on how to read a crochet pattern explains rounds, increases and stitch counts step by step. And for printable, ad-free patterns to make next, take a look at my Etsy shop.
Which one is you — daisies, checks or classic? Save this page to Pinterest so you have all the ideas in one place when you pick up your hook.
Checkered Crochet Bucket Hat: Free Pattern + Style Ideas
- Skill level
- Easy
- Yarn
- Worsted (4) cotton: about 140 yd Color A (lavender) and 90 yd Color B (cream)
- Hook
- 4.5 mm (US 7)
- Gauge
- 15 dc × 8 rounds = 4 in (10 cm)
- Finished size
- Fits a 21–23 in (53–58 cm) head; crown about 7 in (18 cm) across
- Time
- About 4–5 hours
Materials
- Worsted (4) cotton yarn, Color A (lavender): about 140 yd
- Worsted (4) cotton yarn, Color B (cream): about 90 yd
- 4.5 mm (US 7) crochet hook
- Stitch marker
- Yarn needle
- Scissors
Abbreviations (US terms)
- ch
- chain
- sl st
- slip stitch
- sc
- single crochet
- dc
- double crochet
- MR
- magic ring
- st(s)
- stitch(es)
- rnd
- round
- * … *
- repeat the steps between asterisks
Instructions
Notes: US terms. Double crochet (dc) throughout, worked in joined rounds without turning. The ch 2 at the start of each round does not count as a stitch; join every round with a sl st to the first dc. Stitch counts are in parentheses.
Changing color: work the last dc of a block until 2 loops remain, then finish it with the new color. Lay the color you are not using along the top of the round and work over it, so it is hidden inside the stitches. Join each round with the color the next round starts with.
Crown (Color A — lavender)
Rnd 1: Make a MR, ch 2, 12 dc in the ring. Pull the ring closed and join. (12)
Rnd 2: Ch 2, 2 dc in each st around. (24)
Rnd 3: Ch 2, dc 1, 2 dc in next st around. (36)
Rnd 4: Ch 2, dc 2, 2 dc in next st around. (48) The circle measures about 4 in (10 cm) across.
Rnd 5: Ch 2, dc 3, 2 dc in next st around. (60)
Rnd 6: Ch 2, dc 4, 2 dc in next st around. (72)
Rnd 7: Ch 2, dc 5, 2 dc in next st around. (84) The crown is about 7 in (18 cm) across. Join with Color A.
Sides (no increases — 14 checks of 6 stitches)
Rnds 8–9: Ch 2, 6 dc in A, 6 dc in B around. (84) At the end of rnd 9, join with Color B.
Rnds 10–11: Ch 2, 6 dc in B, 6 dc in A around. (84) At the end of rnd 11, join with Color A.
Rnds 12–13: Repeat rnds 8–9. (84)
Rnds 14–15: Repeat rnds 10–11. (84)
Brim (each check grows by 1 stitch per round)
Rnd 16: Ch 2, dc 5 and 2 dc in next st in A; dc 5 and 2 dc in next st in B around. (98 — checks of 7)
Rnd 17: Ch 2, dc 6 and 2 dc in next st in A; dc 6 and 2 dc in next st in B around. (112 — checks of 8) Join with Color B.
Rnd 18: Ch 2, dc 7 and 2 dc in next st in B; dc 7 and 2 dc in next st in A around. (126 — checks of 9)
Rnd 19: Ch 2, 9 dc in B, 9 dc in A around. (126) Join with Color A and cut Color B.
Rnd 20 (edge): With Color A only, ch 1, sc in each st around. (126) Join, fasten off.
Finishing: Weave in each tail through stitches of the same color, one way and then back the other. Lightly steam or damp-block the brim so it sits evenly.
Sizing: As written the hat fits a 21–23 in (53–58 cm) head. For a smaller head, stop the crown after rnd 6 (72 sts = 12 checks of 6). For a larger head, add rnd 8 of the crown as dc 6, 2 dc in next st (96 sts = 16 checks of 6). Always keep an even number of checks so the colors alternate all the way round.
© 2026 Henouda · www.crochethenouda.com. You may sell items you make from this pattern; please credit Crochet Henouda. Do not copy, share or sell the pattern itself.
Frequently asked questions
What yarn is best for a crochet bucket hat?
Cotton or a cotton blend in worsted (4) or DK (3) weight. It is breathable for summer and, with a slightly smaller hook, gives a firm brim that keeps its shape.
Is a crochet bucket hat good for beginners?
Yes. It is worked in the round from the top down with no seaming, so if you can make a flat circle you can make a bucket hat. A solid one-color hat is the easiest place to start.
Why is my bucket hat brim floppy?
Your stitches are too loose. Use a smaller hook for a firmer fabric, choose cotton rather than a soft acrylic, and block the brim flat after finishing.
Is the checkered bucket hat pattern free?
Yes. The full round-by-round pattern for the lavender and cream checkered bucket hat is free on this page, with stitch counts and a printable pattern card.
How do I keep the checks lined up on the brim?
Increase at the end of every check instead of evenly around the round. Each check grows by one stitch per round, so the colors stay stacked on top of each other as the brim flares.
More free patterns you’ll love
 Free patterns
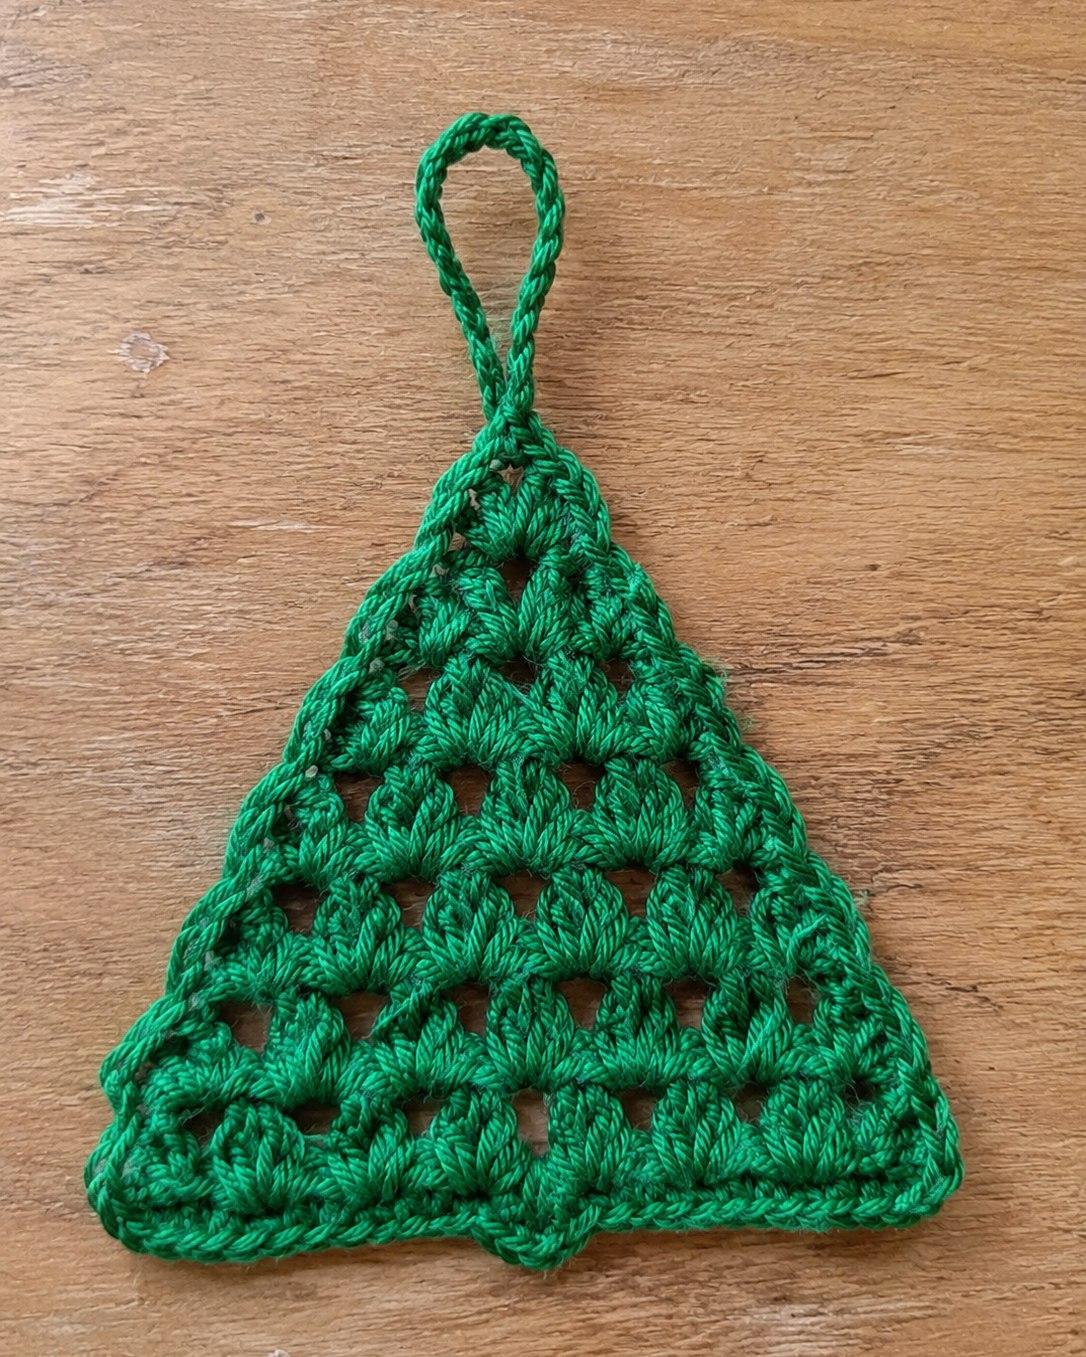
Free Crochet Christmas Tree Ornament Pattern (Easy Granny Stitch)
A flat granny stitch tree with a hanging loop and a little trunk. Beginner friendly, with the full free pattern and 16 photo steps in US terms.
 Free patterns
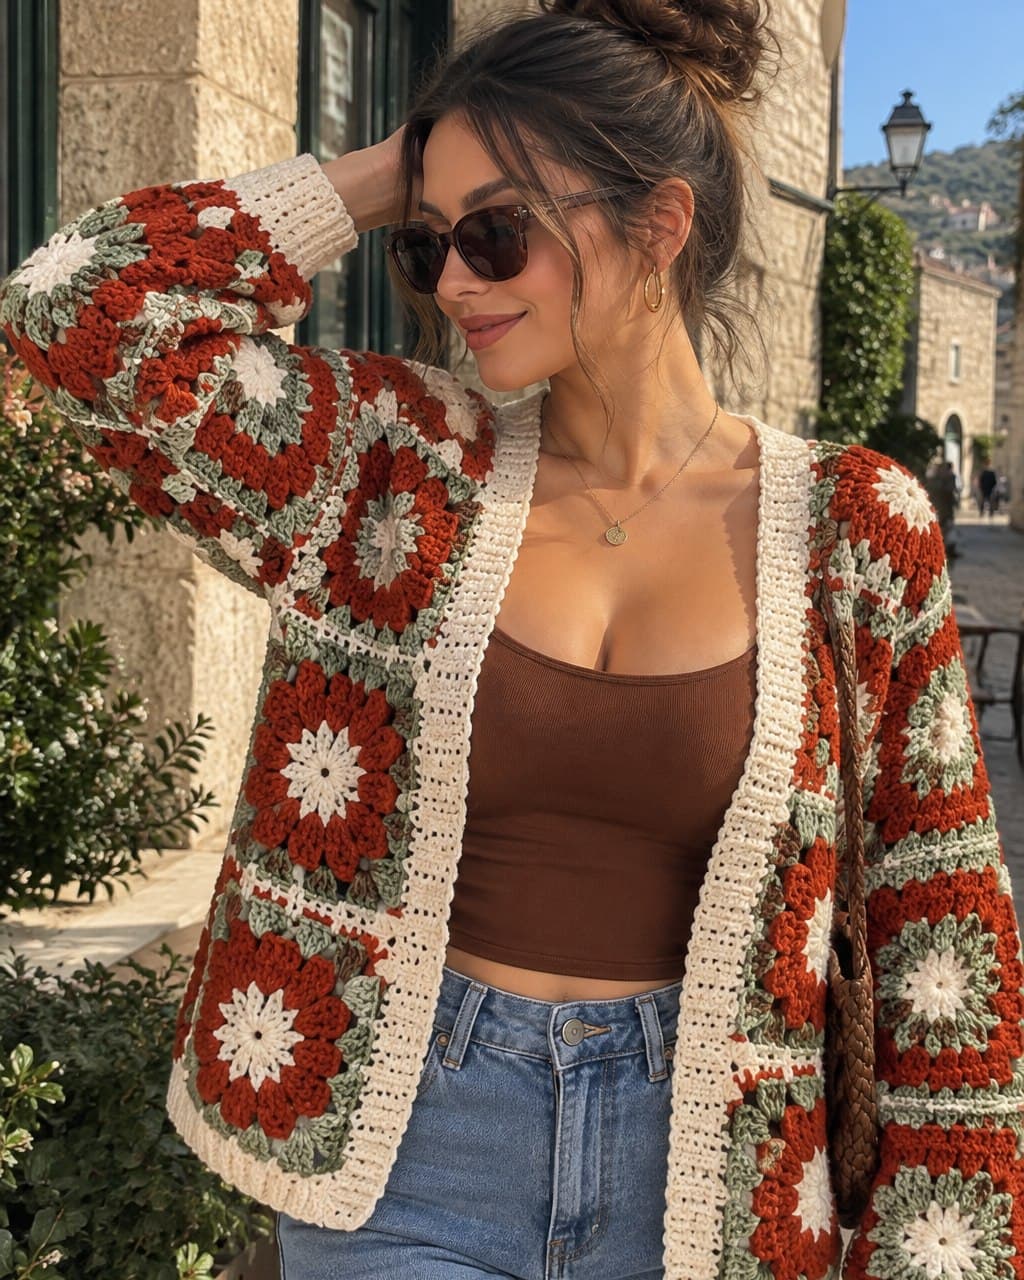
Rust & Sage Granny Square Cardigan: Free Pattern
The free sunflower granny square cardigan in warm rust, sage green and cream: 54 squares, five panels and cream ribbing, with a photo for every stage.
 Free patterns
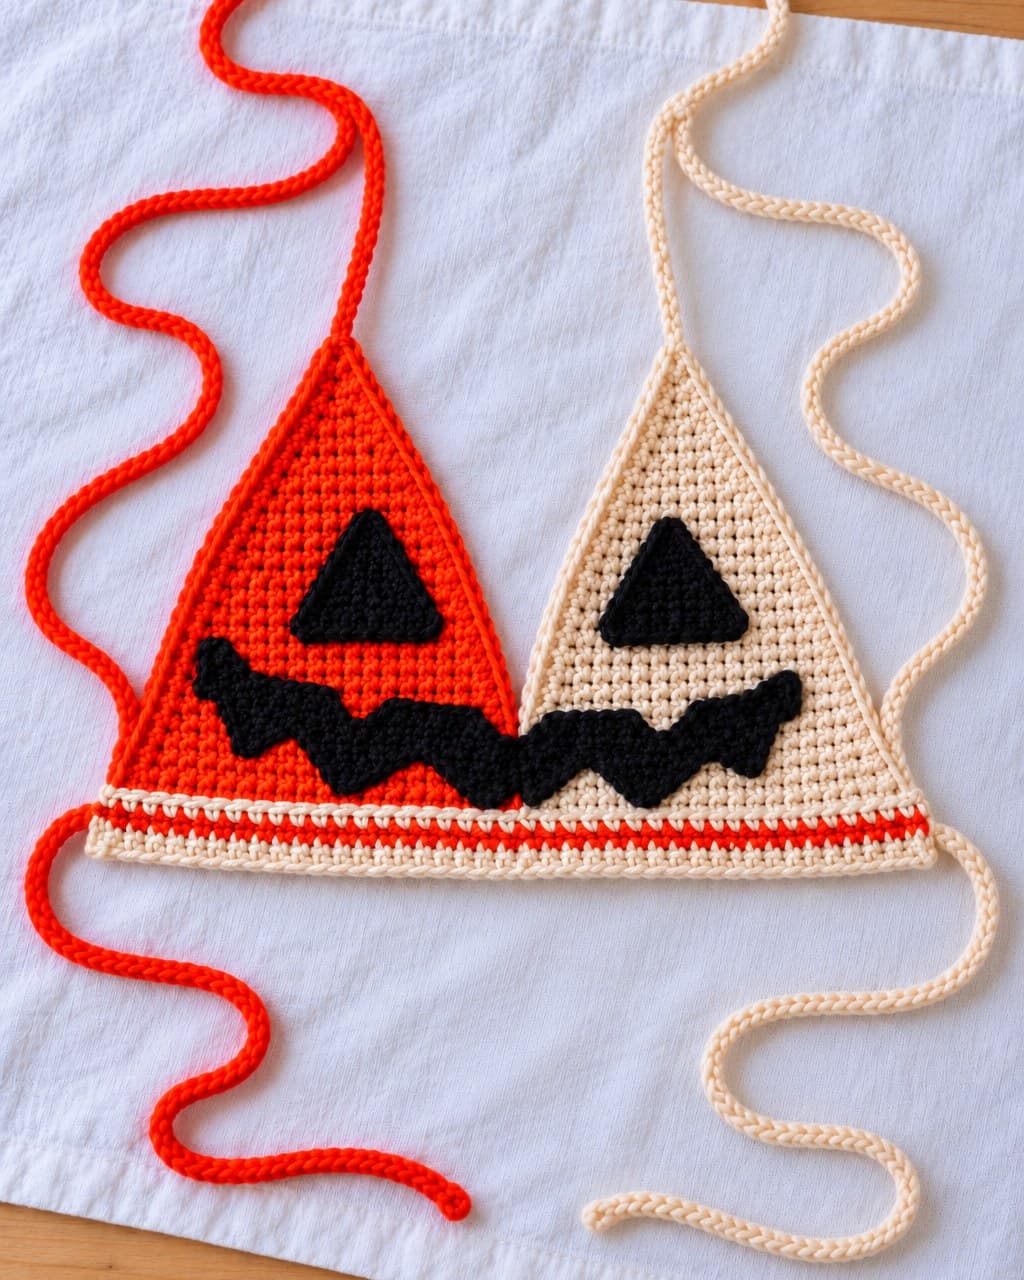
Lantern Crop Top: Free Jack-o'-Lantern Crochet Pattern
A free crochet pattern for a jack-o'-lantern halter top: one orange cup, one cream cup and a black pumpkin face. Easy, worsted cotton, row by row with stitch counts.